There’s something magical about transforming fresh snow into a creamy, dreamy dessert—don’t you think? Whether you’re looking for a quick winter treat, a fun snow day activity with the kids, or a nostalgic homemade dessert, this Snow Cream Recipe delivers. With just a handful of simple ingredients like sweetened condensed milk and pure vanilla extract, you can whip up a batch of this all-natural delight in minutes. No ice cream maker required!
Worried about flavor? Don’t be. This recipe is endlessly customizable—try chocolate snow cream for a rich twist or strawberry for a fruity kick. Plus, I’ve included tips to ensure your snow is safe to eat and your texture is perfectly creamy. Ready to turn your next snowfall into something delicious? Let’s get started!
Table of Contents
Table of Contents
Why You’ll Love This Snow Cream Recipe
There’s a reason generations have cherished this frosty treat—it’s fast, fun, and tastes like childhood magic. Here’s what makes it special:
- Instant Gratification: No churning or waiting—just 5 minutes from snow to spoon.
- All-Natural Goodness: Made with just snow, sweetened condensed milk, and vanilla (no artificial additives).
- Kid-Friendly Adventure: Let little ones measure ingredients or fold in snow—it’s an edible science experiment!
- Endlessly Customizable: Swap flavors with cocoa powder, fruit, or even cookie crumbs for personal twists.
Pro Insight: Unlike store-bought ice cream, this recipe lets you control sweetness and texture. Too soft? Add more snow. Not sweet enough? A drizzle of honey does the trick.
Safety Note: Always collect snow from clean, undisturbed surfaces (think: a pristine patio table, not the ground). When in doubt, stick to the first 1-2 hours of a fresh snowfall for the purest results.
Ready to play with your food? Let’s gather ingredients—the snow’s waiting! ❄️
What You’ll Need for Perfect Snow Cream
Gathering your ingredients is the first step to snow cream success. Here’s everything you’ll need to create this wintry delight:

Essential Ingredients
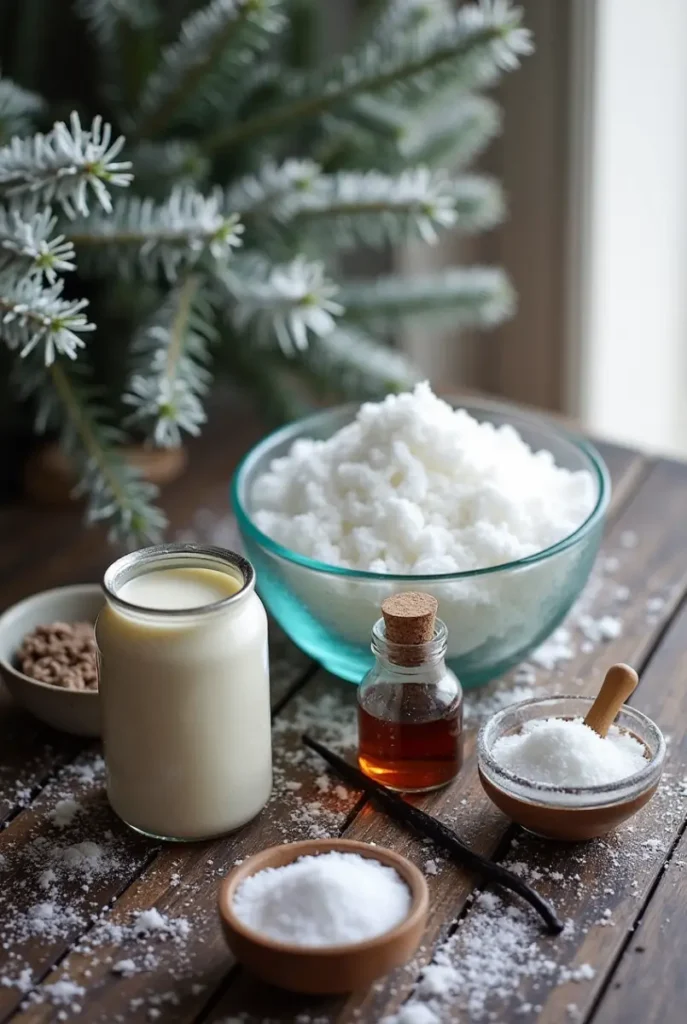
- 8 cups fresh, clean snow (about 1/2 gallon, loosely packed)
- 1 (14 oz) can sweetened condensed milk (the secret to creamy texture)
- 1 teaspoon pure vanilla extract (for warm, aromatic flavor)
- Pinch of fine sea salt (balances sweetness)
Optional Mix-Ins & Variations
- 2 tablespoons cocoa powder (for chocolate snow cream)
- ½ cup mashed berries or fruit puree (strawberry, raspberry, or mango work beautifully)
- ¼ teaspoon peppermint extract (for a frosty mint twist)
- Handful of mini chocolate chips or crushed cookies (for added crunch)
Dairy-Free Alternative
- Replace condensed milk with 1 cup full-fat coconut milk + ¼ cup powdered sugar (whisk until smooth)
Pro Tips for Ingredient Success:
✔ Snow Quality Matters: Always collect snow from a clean, elevated surface (like a baking sheet placed outside) right after it falls. Avoid discolored or packed snow.
✔ Cold Bowls Keep It Fluffy: Chill your mixing bowl in the freezer for 10 minutes beforehand to prevent melting.
✔ Taste as You Go: Snow varies in moisture—add condensed milk gradually until you reach your ideal sweetness and consistency.
How to Make Perfect Snow Cream in 5 Minutes
Nothing beats watching fluffy snow transform into creamy dessert right before your eyes! With these easy-to-follow steps, you’ll achieve perfect snow cream consistently:

Step-by-Step Guide:
- Prepare Your Workspace
- Set out all ingredients and tools (large mixing bowl, wooden spoon, measuring cups)
- For best results, chill your mixing bowl for 10 minutes beforehand
- Mix the Base
- In your chilled bowl, whisk together:
- 1 can (14 oz) sweetened condensed milk
- 1 tsp pure vanilla extract
- Pinch of salt
- Pro Tip: The mixture should be smooth and slightly thick – this is your flavor foundation
- In your chilled bowl, whisk together:
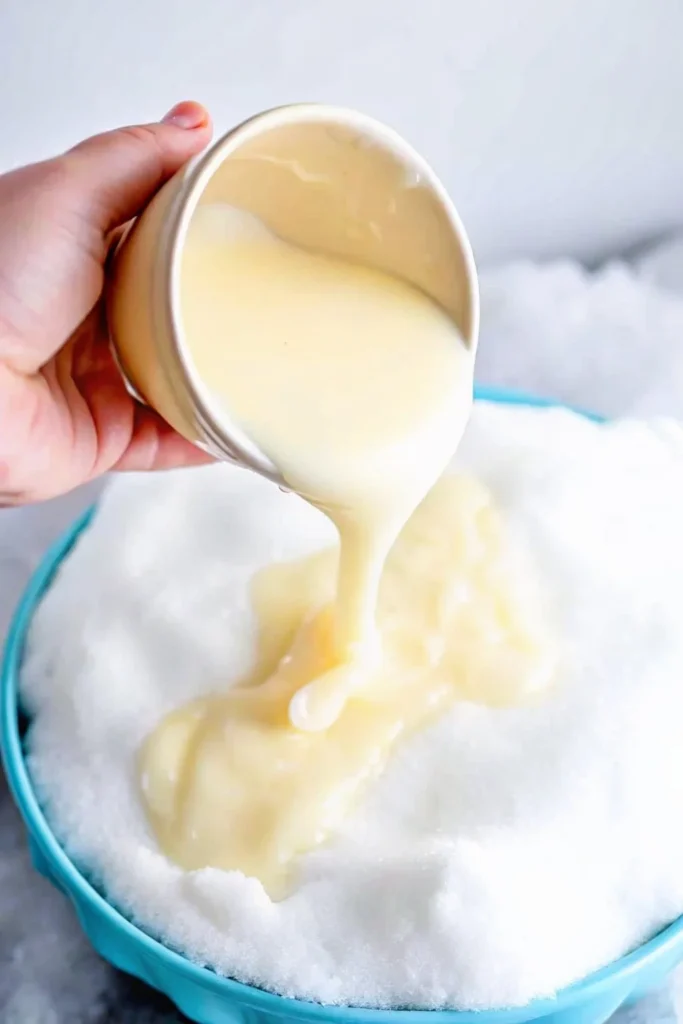
- Fold in the Snow
- Gradually add 8 cups fresh snow (about 1/2 gallon)
- Gently fold with a wooden spoon just until combined
- Watch the magic happen as it transforms into creamy perfection!
- Customize Your Creation
- For chocolate version: Mix in 2 tbsp cocoa powder
- For fruit flavor: Swirl in ½ cup fruit puree
- For texture: Add mix-ins like sprinkles or crushed cookies
Key Technique Tips:
✔ Gentle Folding is crucial – overmixing causes melting
✔ Work Quickly – have everything ready before adding snow
✔ Texture Check – should resemble soft-serve ice cream
✔ Taste Test – adjust sweetness if needed with extra condensed milk
Troubleshooting Help:
- Too icy? Add 1-2 tbsp milk or cream
- Too sweet? Brighten the flavor with just a hint of fresh lemon juice
- Melting too fast? Return bowl to freezer for 5 minutes
Why This Method Works:
The gradual incorporation of snow prevents clumping while maintaining that dreamy, creamy texture we all love. Remember – snow cream is best enjoyed immediately, so gather your spoons and dig in!
Pro Tips & Variations: Elevate Your Snow Cream Game
Now that you’ve mastered the basics, let’s take your snow cream from great to extraordinary! These professional secrets and creative twists will make your winter treat unforgettable.

Essential Pro Tips:
• Temperature Control: Work in a cool kitchen (or even outdoors!) to prevent melting. If your hands get warm, chill them under cold water before mixing.
• Snow Selection: The fluffiest snow makes the creamiest results. Scoop from the top layer of fresh snowfall for optimal texture.
• Flavor Layering: Add mix-ins in stages – fold some into the base, then sprinkle more on top for varied texture.
Game-Changing Variations:
For Chocolate Lovers:
- Whisk 2 tbsp Dutch-process cocoa into your condensed milk base
- Top with warm chocolate sauce and crushed peppermint
Fruit Fantasy Options:
- Swirl in homemade berry compote (simmer 1 cup frozen berries with 1 tbsp honey)
- Add zest from 1 orange for sunshine flavor in winter
Decadent Dessert Twists:
- Create “snow cream sandwiches” between oatmeal cookies
- Layer with crumbled brownies for a sundae effect
Special Diet Adaptations:
- Vegan Version: Use coconut condensed milk + maple syrup
- Lower Sugar: Replace 1/4 condensed milk with unsweetened applesauce
Storage Solutions:
- While best fresh, you can freeze leftovers in airtight containers
- Revive hardened snow cream by letting it sit at room temp for 3 minutes, then fluff with a fork
Why These Work:
Each tip addresses common snow cream challenges while the variations turn this simple recipe into a customizable winter canvas. The secret? Balancing moisture (snow) with richness (dairy/fat) and flavor intensity (extracts/mix-ins).
Next up: The perfect ways to serve and enjoy your creation!
Serving Suggestions: The Art of Enjoying Snow Cream
Your perfect batch of snow cream deserves an equally perfect presentation! Here’s how to turn this simple winter treat into a memorable experience for all ages.
Creative Presentation Ideas:
• Nostalgic Style: Serve in vintage ice cream dishes with long-handled spoons for old-fashioned charm
• Playful Approach: Use colorful paper cones or mason jars for easy outdoor enjoyment
• Elegant Twist: Layer in parfait glasses with alternating fruit compote layers
Top Pairing Combinations:
- Classic Comfort: Warm gingerbread cookies + vanilla snow cream
- Flavor Contrast: Spiced hot chocolate with peppermint snow cream float
- Breakfast Treat: Cinnamon snow cream over waffle pieces
Topping Bar Essentials:
Create a DIY station with:
✓ Hot fudge or caramel sauce (warmed slightly for easy drizzling)
✓ Crumbled cookies or candy canes
✓ Toasted coconut flakes or chopped nuts
✓ Fresh berries or banana slices
Temperature Tips:
- Serve immediately after making for ideal texture
- Chill serving bowls for 10 minutes to prevent melting
- For outdoor parties, place serving bowls on a bed of snow
Special Occasion Ideas:
- Winter Birthday Party: Use snow cream as an “ice cream” cake layer
- Holiday Gathering: Serve mini portions in shot glasses with festive sprinkles
- Romantic Dessert: Top with edible gold leaf and rose petals
Pro Serving Insight:
The magic of snow cream lies in its ephemeral nature – it’s meant to be enjoyed immediately with good company. The simpler the presentation, the more it highlights the wonder of snow transformed into dessert.
______________________________________________________________

Snow Cream Recipe
Ingredients
- 8 cups fresh clean snow (from undisturbed surfaces)
- 1 14 oz can sweetened condensed milk (or coconut milk for dairy-free)
- 1 tsp pure vanilla extract
- Pinch of salt enhances flavor
Optional mix-ins:
- 2 tbsp cocoa powder
- ½ cup fruit puree strawberry, mango, etc.
- Crushed cookies or sprinkles
Instructions
Prepare Snow:
- Collect snow from a clean surface (e.g., picnic table, baking sheet) right after it falls. Avoid discolored or packed snow.
Mix Base:
- In a large chilled bowl, whisk together condensed milk, vanilla, and salt until smooth.
Combine:
- Gradually fold in snow (about 2 cups at a time) until creamy. Do not overmix—it should resemble soft-serve ice cream.
Customize:
- Stir in cocoa powder, fruit, or other mix-ins if desired.
Serve Immediately:
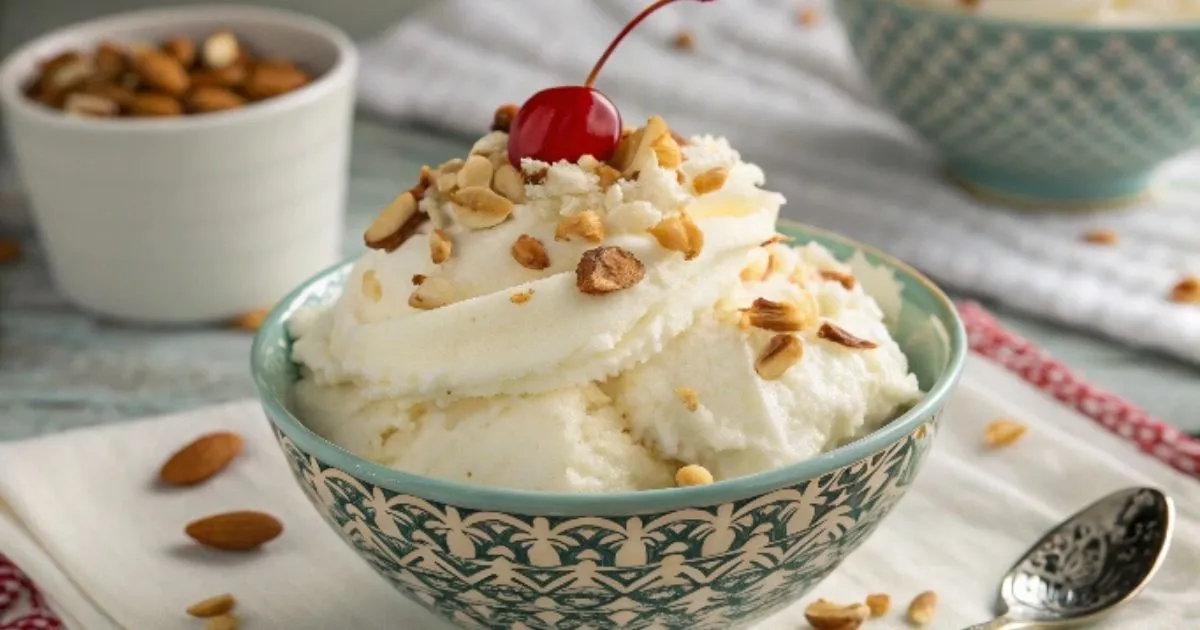
- Top with sprinkles, chocolate sauce, or fresh fruit. Best enjoyed fresh!
Notes
- Dairy-Free: Use coconut condensed milk + 1 tbsp maple syrup.
- Storage: Not recommended—best eaten right away
Notes
| Nutrient | Amount |
| Calories | 220 kcal |
| Fat | 7g |
| Carbs | 35g |
| Protein | 5g |
| Sugar | 32g |
| Calcium | 20% DV |
FAQS
What is snow cream made of?
Fresh clean snow, sweetened condensed milk, and vanilla extract.
How to make 3-ingredient ice cream?
Combine 8 cups fresh snow, 1 can (14 oz) sweetened condensed milk, and 1 tsp vanilla extract.
Is snow cream just a Southern thing?
While popular in Southern U.S. states, it’s made anywhere with clean snowfall.
How do you make snow cream?
Gently fold fresh snow into a mixture of condensed milk and vanilla until creamy.
Is it OK to eat snow cream?
Yes, if using freshly fallen, uncontaminated snow from a clean surface.
Conclusion: Your Snow Cream Adventure Awaits!
As we wrap up our snow cream journey, remember that this whimsical winter treat is more than just dessert—it’s an experience. Whether you’re reliving childhood memories or creating new ones with your own family, snow cream offers that rare magic of turning simple ingredients into something extraordinary.
Why This Recipe Wins Every Time:
- It transforms a fleeting winter moment into edible joy
- Adapts effortlessly to different tastes and dietary needs
- Requires no special equipment—just enthusiasm and fresh snow
Final Words of Wisdom:
Keep your first batch classic, then get creative! The best snow cream memories often come from:
• Letting kids invent their own flavor combinations
• Sharing bowls with neighbors after a big snowfall
• Enjoying that first spoonful while still wearing mittens
Your Next Steps:
- Watch the weather forecast for fresh snow
- Bookmark this recipe for when the flakes start falling
- Gather your favorite mix-ins and toppings
We’d Love to Hear From You!
Did you discover a brilliant new flavor combination? Have tips for the perfect snow harvest? Share your snow cream stories in the comments—your ideas might inspire others to create their own winter magic!
Now grab your bowl and spoon—your next snow day just got sweeter. Wishing you blue skies, fresh powder, and the creamiest snow cream ever!

