There’s something undeniably comforting about a rich, savory gravy that ties a meal together, don’t you think? Whether you’re whipping up a cozy family dinner or impressing guests with your culinary skills, this Dried Beef Gravy Recipe is here to make your taste buds dance. Made with simple, pantry-friendly ingredients, this creamy, flavorful gravy is a versatile star that pairs perfectly with mashed potatoes, biscuits, or even roasted vegetables.
What makes this recipe a keeper? It’s quick, easy, and packed with homemade goodness that beats store-bought versions any day. Plus, it’s a hearty, family-friendly dish that’s sure to become a regular on your menu. Ready to elevate your comfort food game? Let’s dive in and create a gravy that’s as unforgettable as it is delicious!
Table of Contents
Key Benefits of This Dried Beef Gravy Recipe
If you’ve ever wondered why homemade gravy is worth the effort, let me tell you—this Dried Beef Gravy Recipe is a game-changer. Not only is it incredibly easy to make, but it also brings a rich, savory flavor to your table that’s hard to resist. Here’s why you’ll love it:
- Quick and Easy: With just a handful of pantry staples, you can whip up this gravy in under 30 minutes. It’s a lifesaver when you need a delicious meal in a pinch!
- Versatile Comfort Food: Whether you’re serving it over fluffy mashed potatoes, warm biscuits, or roasted veggies, this gravy transforms any dish into a hearty, satisfying meal.
- Budget-Friendly: Made with affordable ingredients like dried beef, butter, and milk, this recipe delivers restaurant-quality flavor without breaking the bank.
- Family-Approved: Its creamy texture and bold taste make it a hit with both kids and adults. Plus, it’s a great way to add a homemade touch to your meals.
But the best part? This gravy is 100% customizable. Whether you’re cooking for a crowd or tweaking it to suit your taste, it’s a recipe that adapts to your needs. Ready to make your taste buds dance? Let’s get started!
Ingredients for the Perfect Dried Beef Gravy Recipe
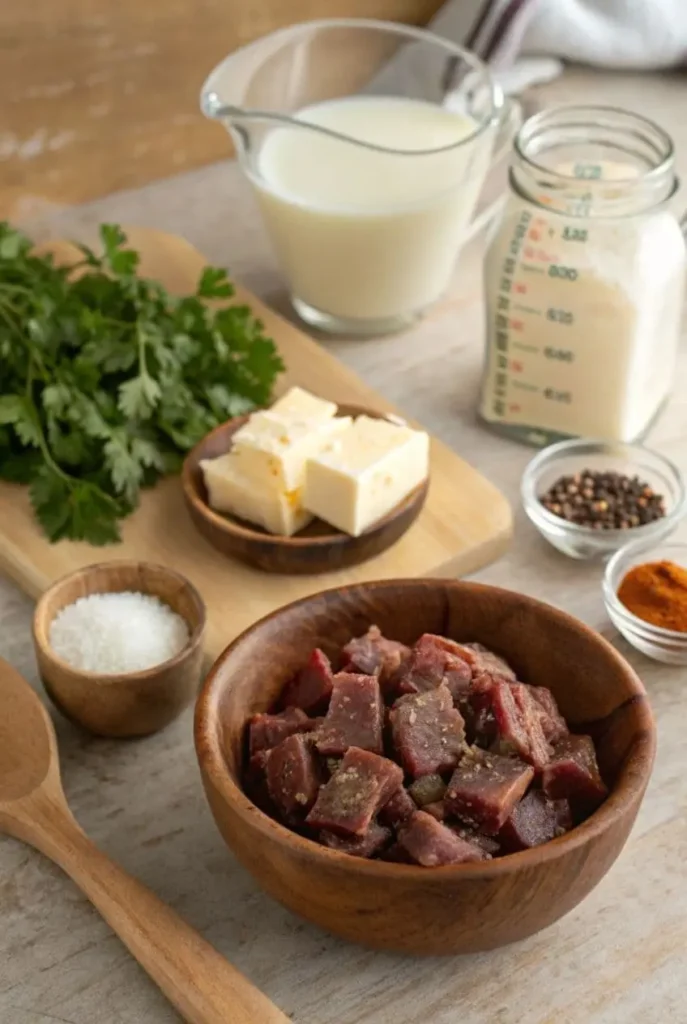
Before we dive into the cooking process, let’s gather everything you’ll need to create this irresistible Dried Beef Gravy. The beauty of this recipe lies in its simplicity—most of these ingredients are likely already in your pantry! Here’s what you’ll need:

Main Ingredients:
- 4 oz dried beef (thinly sliced and chopped into bite-sized pieces)
- 3 tbsp unsalted butter (for a rich, creamy base)
- 3 tbsp all-purpose flour (to thicken the gravy to perfection)
- 2 cups whole milk (for a smooth, velvety texture)
- 1/2 tsp black pepper (adds a subtle kick of flavor)
- 1/2 tsp onion powder (enhances the savory notes)
- 1 tsp Worcestershire sauce (for a hint of umami depth)
Optional Add-Ins:
- 1/4 tsp garlic powder (for an extra layer of flavor)
- 1/4 tsp smoked paprika (adds a touch of smokiness)
- Fresh parsley (for garnish and a pop of color)
Pro Tip: If you’re looking for a gluten-free option, simply swap the all-purpose flour for a gluten-free alternative like cornstarch or a 1:1 gluten-free flour blend. The result will be just as delicious!
For more information on selecting the best beef for your recipe and tips on preparation, check out this helpful guide from Beef It’s What’s for Dinner. It’s an authoritative resource offering expert advice on choosing and cooking beef, ensuring your dried beef gravy is made with top-quality ingredients.
Step-by-Step Instructions for the Dried Beef Gravy Recipe
Now that you’ve got your ingredients ready, let’s turn them into a creamy, flavorful Dried Beef Gravy that’ll have everyone asking for seconds. Follow these simple steps, and I’ll guide you through each one to ensure perfect results every time.

Step 1: Prepare the Dried Beef
- Start by chopping the 4 oz dried beef into small, bite-sized pieces. This ensures every spoonful of gravy is packed with savory goodness.
- If the dried beef is too salty for your taste, you can rinse it briefly under cold water and pat it dry with a paper towel.
Step 2: Make the Roux
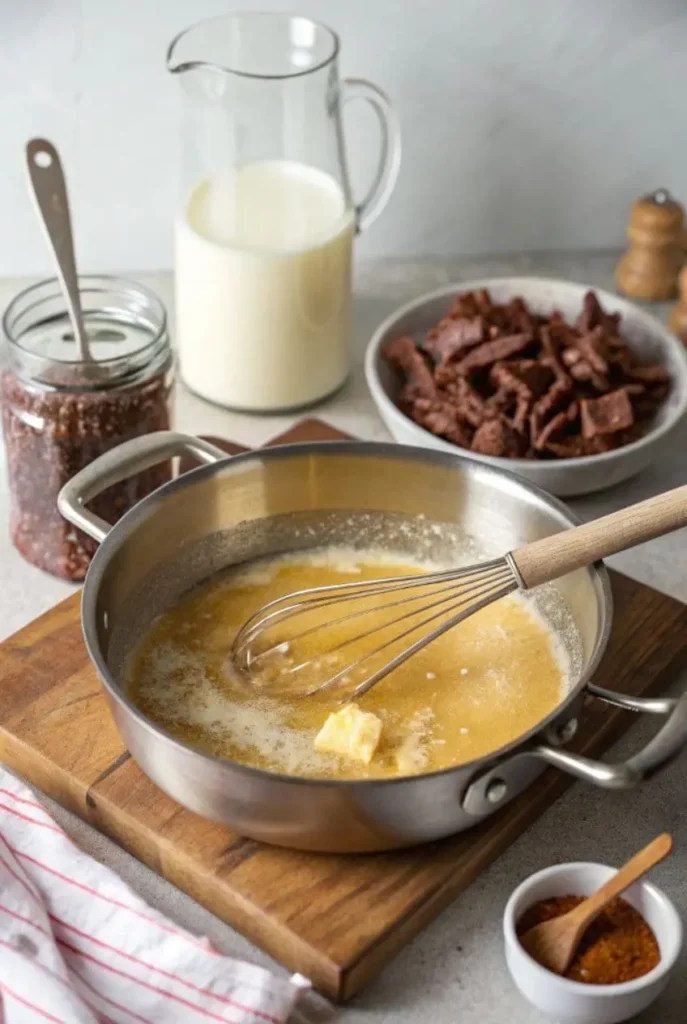
- In a medium saucepan, melt 3 tbsp unsalted butter over medium heat.
- Once the butter is melted and slightly bubbly, add 3 tbsp all-purpose flour. Whisk continuously for 1-2 minutes until the mixture turns golden and smells nutty. This is your roux, and it’s the secret to a thick, luscious gravy.
Step 3: Add the Milk
- Slowly pour in 2 cups whole milk, whisking constantly to avoid lumps. Continue whisking until the mixture is silky smooth and starts to thicken.
- Let the gravy simmer gently for 3-4 minutes, stirring occasionally, until it reaches your desired consistency.
Step 4: Season and Add the Beef
- Stir in the chopped dried beef, 1/2 tsp black pepper, 1/2 tsp onion powder, and 1 tsp Worcestershire sauce.
- If you’re using optional add-ins like garlic powder or smoked paprika, add them now.
- Let the gravy simmer for another 2-3 minutes, allowing the flavors to meld together beautifully.
Step 5: Taste and Adjust
- Give your gravy a taste and adjust the seasoning if needed. Add more pepper for a bolder flavor or a pinch of salt if desired (though the dried beef usually provides enough saltiness).
- If the gravy is too thick, you can thin it out with a splash of milk. If it’s on the thinner side, let it simmer a little longer until it reaches the perfect consistency.
Step 6: Serve and Enjoy
- Once your gravy is perfectly creamy and flavorful, remove it from the heat.
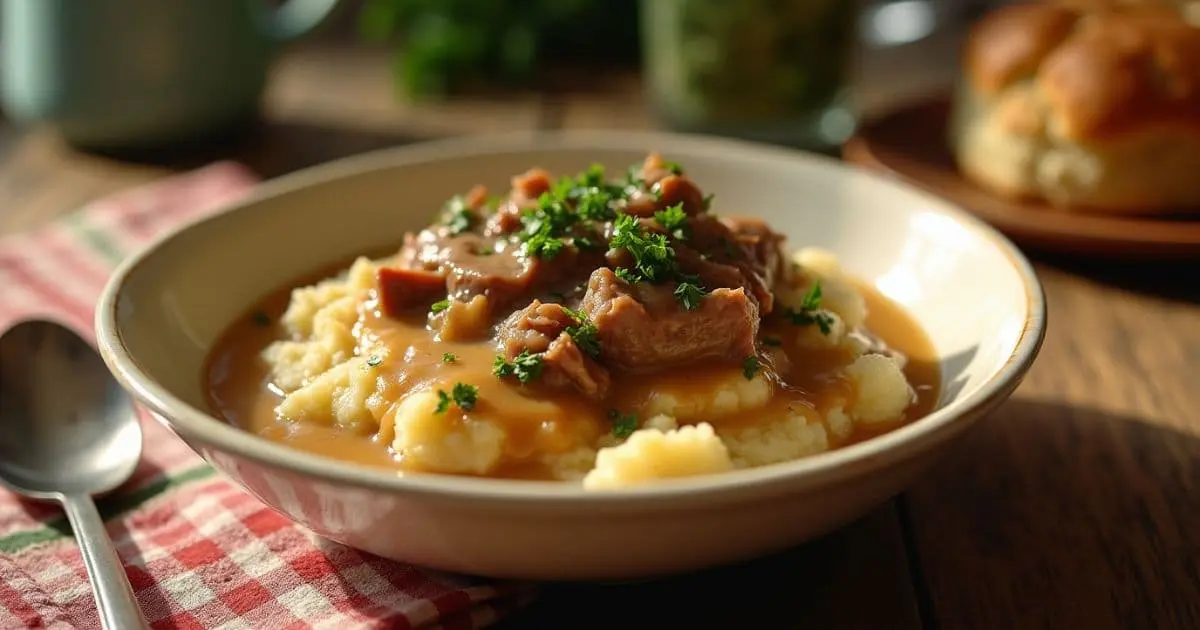
- Garnish with fresh parsley if desired, and serve it warm over mashed potatoes, biscuits, or your favorite side dishes.
Pro Tip: For an extra-smooth gravy, you can use an immersion blender or whisk vigorously before serving. This ensures a silky texture that’s sure to impress!
Pro Tips and Variations for Your Dried Beef Gravy Recipe
Now that you’ve mastered the basics of this Dried Beef Gravy Recipe, let’s take it up a notch with some pro tips and creative variations. Whether you’re looking to tweak the flavor, adapt it for dietary needs, or simply make the process even easier, these insights will help you customize the recipe to perfection.

Pro Tips for Success:
- Avoid Lumps: When adding the milk to the roux, pour it slowly and whisk constantly. This ensures a smooth, lump-free gravy every time.
- Control the Saltiness: Dried beef can be salty, so taste the gravy before adding extra salt. If it’s too salty, balance it out with a splash of milk or a pinch of sugar.
- Perfect Consistency: If your gravy is too thick, add a little more milk. If it needs to thicken, let it simmer a bit longer until it reaches the desired texture.
- Prep Ahead: You can prepare this gravy a day in advance. Store it in an airtight container in the fridge and reheat it gently on the stovetop, adding a splash of milk to restore its creamy texture.
Delicious Variations:
- Gluten-Free Option: Swap the all-purpose flour for cornstarch or a gluten-free flour blend. Use 1.5 tbsp of cornstarch mixed with 2 tbsp of cold water as a thickener.
- Dairy-Free Version: Replace the butter with olive oil or vegan butter, and use unsweetened almond milk or oat milk instead of whole milk.
- Extra Flavor Boost: Add a pinch of smoked paprika, a dash of hot sauce, or a teaspoon of Dijon mustard for a unique twist.
- Herb-Infused Gravy: Stir in fresh thyme, rosemary, or chives for a fragrant, herbaceous flavor.
Storage and Reheating Tips:
- Refrigerate: Store leftover gravy in an airtight container for up to 3 days.
- Freeze: Pour cooled gravy into a freezer-safe container and freeze for up to 2 months. Let it thaw in the refrigerator overnight before reheating.
- Reheat: Warm the gravy gently on the stovetop over low heat, stirring occasionally. Add a splash of milk if needed to restore its creamy texture.
Why Customize?
The true charm of this recipe lies in its flexibility. Whether you’re catering to dietary restrictions or simply experimenting with new flavors, these tips and variations ensure your Dried Beef Gravy is always a hit. Don’t be afraid to get creative—it’s your kitchen, after all!
Serving Suggestions for the Dried Beef Gravy Recipe
Now that your Dried Beef Gravy is ready, it’s time to think about how to serve it! This versatile gravy is the perfect companion to a variety of dishes, making it a star player in your meals. Here are some delicious and creative ways to enjoy it:
Classic Pairings:
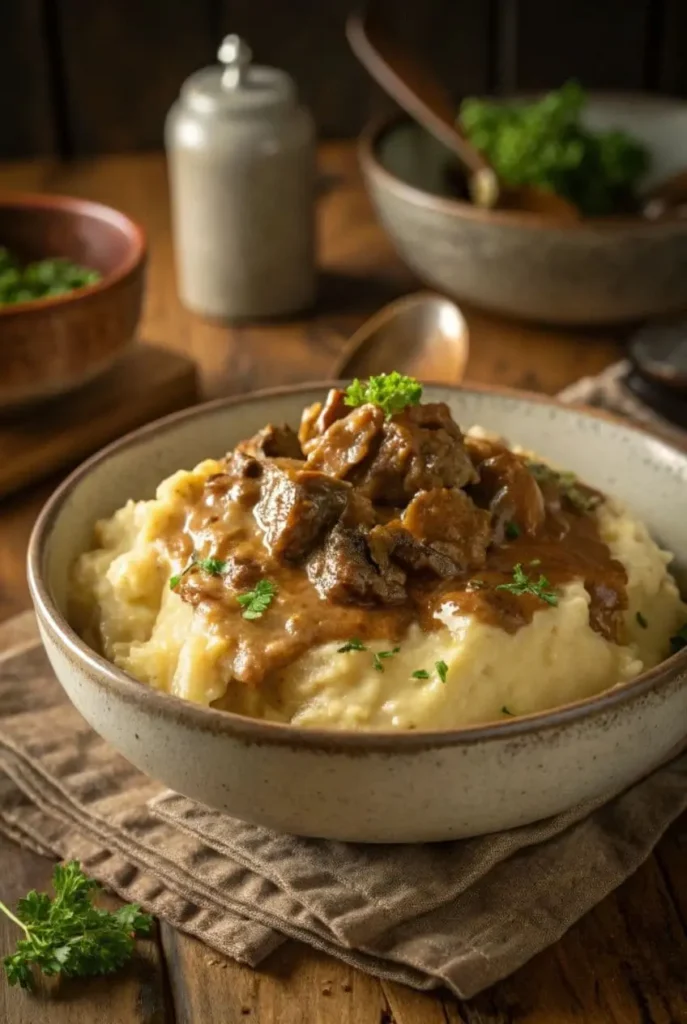
- Mashed Potatoes: Spoon the gravy over a mound of creamy mashed potatoes for the ultimate comfort food experience.
- Biscuits: Serve it alongside warm, flaky biscuits for a hearty breakfast or brunch.
- Roasted Vegetables: Drizzle it over roasted carrots, green beans, or Brussels sprouts to add a savory twist.
Creative Ideas:
- Poutine: Transform your gravy into a Canadian classic by pouring it over crispy fries and cheese curds.
- Breakfast Bowls: Layer it with scrambled eggs, hash browns, and shredded cheese for a filling morning meal.
- Meatloaf or Meatballs: Use it as a flavorful topping for your favorite meatloaf or meatball recipe.
Family-Friendly Meals:
- Chicken Fried Steak: Pair it with crispy chicken fried steak for a Southern-inspired dinner.
- Open-Faced Sandwiches: Spread it over toasted bread topped with sliced turkey or roast beef for a quick and satisfying lunch.
- Rice or Noodles: Serve it over steamed rice or egg noodles for a simple yet comforting dish.
Pro Tip: For a complete meal, pair your gravy with a fresh side salad or steamed greens to balance the richness.
Why It Works: The beauty of this gravy lies in its ability to elevate any dish, from breakfast to dinner. Whether you’re sticking to classic pairings or experimenting with new ideas, it’s sure to bring warmth and flavor to your table. So go ahead—get creative and enjoy every bite!
_____________________________________________________________________

Dried Beef Gravy Recipe
Ingredients
Main Ingredients:
- 4 oz dried beef thinly sliced and chopped into bite-sized pieces
- 3 tbsp unsalted butter for a rich, creamy base
- 3 tbsp all-purpose flour to thicken the gravy to perfection
- 2 cups whole milk for a smooth, velvety texture
- ½ tsp black pepper adds a subtle kick of flavor
- ½ tsp onion powder enhances the savory notes
- 1 tsp Worcestershire sauce for a hint of umami depth
Optional Add-Ins:
- ¼ tsp garlic powder for an extra layer of flavor
- ¼ tsp smoked paprika adds a touch of smokiness
- Fresh parsley for garnish and a pop of color
Instructions
Step 1: Prepare the Dried Beef
- Start by chopping the 4 oz dried beef into small, bite-sized pieces. This ensures every spoonful of gravy is packed with savory goodness.
- If the dried beef is too salty for your taste, you can rinse it briefly under cold water and pat it dry with a paper towel.
Step 2: Make the Roux
- In a medium saucepan, melt 3 tbsp unsalted butter over medium heat.
- Once the butter is melted and slightly bubbly, add 3 tbsp all-purpose flour. Whisk continuously for 1-2 minutes until the mixture turns golden and smells nutty. This is your roux, and it’s the secret to a thick, luscious gravy.
Step 3: Add the Milk
- Slowly pour in 2 cups whole milk, whisking constantly to avoid lumps. Continue whisking until the mixture is silky smooth and starts to thicken.
- Let the gravy simmer gently for 3-4 minutes, stirring occasionally, until it reaches your desired consistency.
Step 4: Season and Add the Beef
- Stir in the chopped dried beef, 1/2 tsp black pepper, 1/2 tsp onion powder, and 1 tsp Worcestershire sauce.
- If you’re using optional add-ins like garlic powder or smoked paprika, add them now.
- Let the gravy simmer for another 2-3 minutes, allowing the flavors to meld together beautifully.
Step 5: Taste and Adjust
- Give your gravy a taste and adjust the seasoning if needed. Add more pepper for a bolder flavor or a pinch of salt if desired (though the dried beef usually provides enough saltiness).
- If the gravy is too thick, you can thin it out with a splash of milk. If it’s on the thinner side, let it simmer a little longer until it reaches the perfect consistency.
Step 6: Serve and Enjoy
- Once your gravy is perfectly creamy and flavorful, remove it from the heat.
- Garnish with fresh parsley if desired, and serve it warm over mashed potatoes, biscuits, or your favorite side dishes.
Pro Tip:
- For an extra-smooth gravy, you can use an immersion blender or whisk vigorously before serving. This ensures a silky texture that’s sure to impress!
Notes
- Calories: 230 kcal
- Fat: 18g
- Saturated Fat: 9g
- Trans Fat: 0g
- Carbohydrates: 8g
- Fiber: 0g
- Sugar: 6g
- Protein: 12g
- Cholesterol: 40mg
- Sodium: 980mg
- Potassium: 250mg
- Calcium: 180mg
- Iron: 1.2mg
Conclusion: Why You’ll Love This Dried Beef Gravy Recipe
There you have it—a Dried Beef Gravy Recipe that’s as easy to make as it is delicious to eat! With its rich, savory flavor and creamy texture, this gravy is the perfect way to elevate any meal, from cozy family dinners to special occasions. Whether you’re serving it over mashed potatoes, biscuits, or roasted vegetables, it’s sure to bring comfort and joy to your table.
Don’t be afraid to get creative and make it your own—cooking is all about experimenting and having fun. So, grab your ingredients, whip up this gravy, and let your taste buds dance with every bite. And when you do, we’d love to hear how it turned out! Happy cooking!
FAQs About the Dried Beef Gravy Recipe
Got questions about this Dried Beef Gravy Recipe? Don’t worry—I’ve got you covered! Here are answers to some of the most common questions to help you nail this recipe every time.
1. Can I use fresh beef instead of dried beef?
While dried beef is the star of this recipe, you can use fresh beef in a pinch. Simply cook and shred the beef, then season it well to mimic the savory flavor of dried beef. Keep in mind that the texture and saltiness will differ slightly.
2. How do I store leftover gravy?
Keep any leftover gravy fresh by storing it in an airtight container in the fridge for up to 3 days. When you’re ready to enjoy it again, gently reheat it on the stovetop, adding a splash of milk to bring back its creamy texture.
3. What can I use instead of Worcestershire sauce?
If you don’t have Worcestershire sauce, you can substitute it with soy sauce or a mix of balsamic vinegar and a pinch of sugar. Both options will add a similar depth of flavor.
4. Is this recipe gluten-free?
Not as written, but it’s easy to make it gluten-free! Swap the all-purpose flour for cornstarch or a gluten-free flour blend. Use 1.5 tbsp of cornstarch mixed with 2 tbsp of cold water as a thickener.
5. Can I make this gravy ahead of time?
Yes! This gravy is perfect for prepping ahead. Make it up to 24 hours in advance, store it in the fridge, and reheat it gently on the stovetop before serving. If it thickens too much, simply stir in a splash of milk to loosen it up.
6. What’s the best way to avoid lumps in the gravy?
The key is to whisk constantly when adding the milk to the roux. Pour the milk slowly and keep whisking until the mixture is smooth. If lumps do form, you can strain the gravy through a fine mesh sieve or blend it with an immersion blender.
8. Can I make this gravy dairy-free?
Definitely! Replace the butter with olive oil or vegan butter, and use unsweetened almond milk or oat milk instead of whole milk. You’ll still end up with a creamy, flavorful gravy that’s just as delicious.
If there’s anything else you’re curious about, feel free to ask in the comments below! I’m here to help you master this recipe and make it your own. Happy cooking!

