Table of Contents
Cream Cheese Filling Recipe
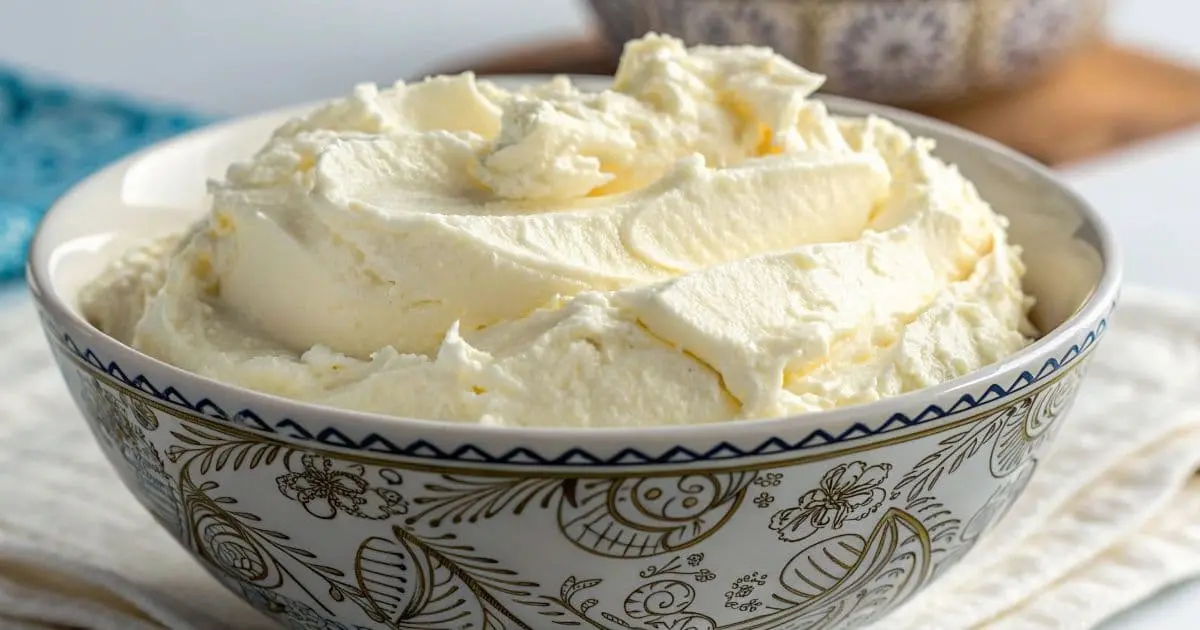
Have you ever tasted a dessert so creamy and dreamy that it made you stop mid-bite just to savor the moment? That’s the magic of a perfectly crafted cream cheese filling—a versatile, velvety delight that can transform your cakes, pastries, and desserts into something truly extraordinary. Whether you’re filling a decadent red velvet cake, piping it into fluffy cupcakes, or spreading it over warm cinnamon rolls, this homemade cream cheese filling recipe is your secret weapon for creating irresistible treats.
What makes this recipe a must-try? It’s easy to make, requires just a handful of simple ingredients, and delivers a luxuriously smooth texture that’s both rich and balanced. Plus, it’s incredibly customizable—add a hint of lemon zest for a citrusy twist, a dash of cocoa powder for a chocolatey vibe, or keep it classic with pure vanilla goodness.
Ready to fall in love with a filling that’s as versatile as it is delicious? Let’s dive in and whip up a batch of this heavenly cream cheese filling that’s sure to become your go-to for every dessert adventure!
Key Benefits of This Cream Cheese Filling Recipe
If you’ve ever wondered what makes a dessert truly unforgettable, the answer often lies in the filling. This cream cheese filling recipe is a game-changer for bakers of all levels, and here’s why:
- Unbeatable Creaminess: Made with just a few simple ingredients, this filling delivers a luxuriously smooth and velvety texture that melts in your mouth. It’s the perfect balance of rich and light, making it ideal for everything from cakes to pastries.
- Versatility at Its Best: Whether you’re filling a classic carrot cake, frosting cupcakes, or layering it in a fruit tart, this cream cheese filling adapts to any dessert with ease. It’s your go-to for both everyday treats and special occasions.
- Easy to Make: You won’t need any complicated methods or rare ingredients—this recipe is straightforward and hassle-free! It’s beginner-friendly but impressive enough to wow even the most discerning dessert lovers.
- Customizable Flavors: Love a hint of citrus? Add some lemon zest. Craving something chocolatey? Mix in cocoa powder. This recipe is a blank canvas for your creativity, allowing you to tailor it to your taste.
But the real magic? This filling doesn’t just taste amazing—it’s also incredibly forgiving. Even if you’re new to baking, you’ll find it hard to go wrong. Plus, it stores beautifully, so you can make it ahead of time and have it ready whenever dessert inspiration strikes.
Ready to elevate your baking game? Let’s move on to the ingredients you’ll need to create this dreamy cream cheese filling!
Ingredients for the Perfect Cream Cheese Filling
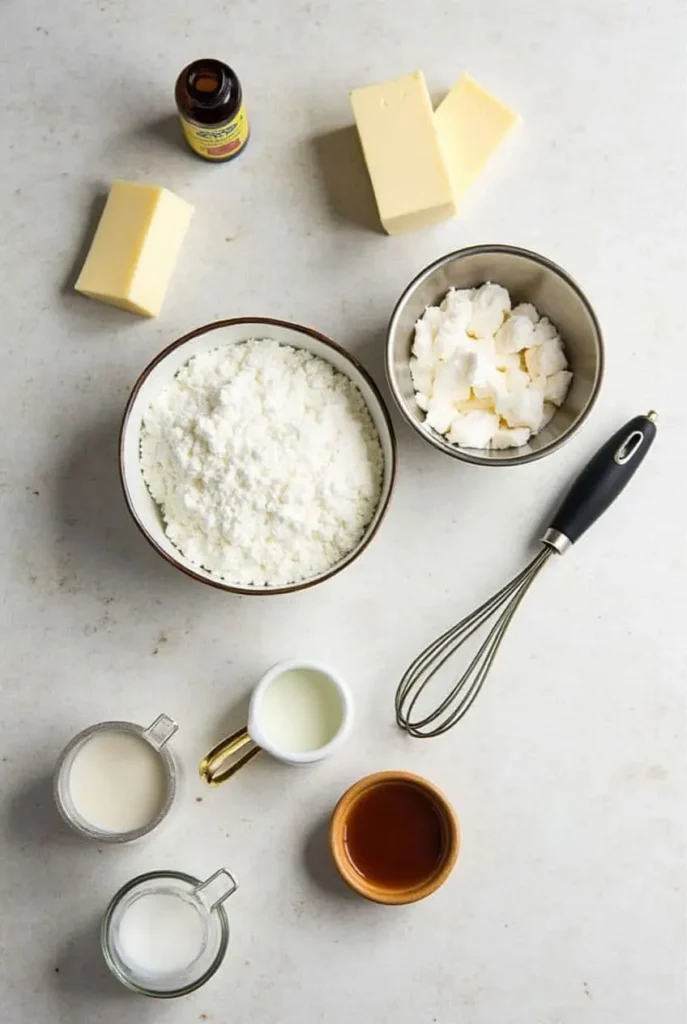
Creating this dreamy cream cheese filling starts with gathering the right ingredients. The beauty of this recipe lies in its simplicity—just a handful of pantry staples come together to create something truly magical. Here’s what you’ll need:
What You’ll Need
- 8 oz (225g) cream cheese, softened: Use full-fat cream cheese for the richest, creamiest texture. Make sure it’s at room temperature to avoid lumps.
- ½ cup (115g) unsalted butter, softened: Softened butter blends seamlessly with the cream cheese, creating a smooth and fluffy filling.
- 2 cups (250g) powdered sugar: This sweetens the filling without the graininess of granulated sugar. Sift it for an extra-smooth consistency.
- 1 tsp pure vanilla extract: A splash of vanilla adds warmth and depth to the flavor. For a twist, try almond extract or citrus zest!
- 2-3 tbsp heavy cream or milk: This helps achieve the perfect spreadable consistency. Adjust the amount based on how thick or thin you want your filling.
Pro Tips for Ingredient Success
- Room Temperature is Key: Ensure both the cream cheese and butter are softened to room temperature. This makes blending easier and prevents a lumpy filling.
- Quality Matters: Opt for high-quality cream cheese and pure vanilla extract for the best flavor.
- Adjust to Taste: If you prefer a tangier filling, reduce the powdered sugar slightly. For a sweeter version, add an extra ¼ cup.
With these simple ingredients and tips, you’re just a few steps away from a creamy, dreamy filling that will elevate any dessert. Ready to start mixing? Let’s move on to the instructions!
Step-by-Step Instructions for Cream Cheese Filling Recipe
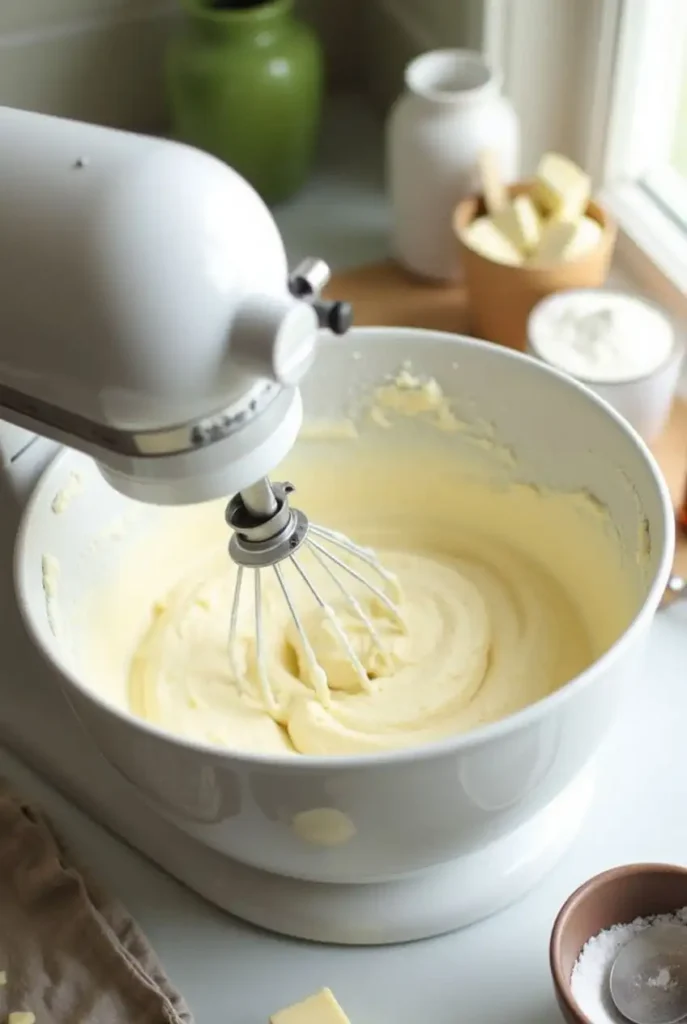
Now that you’ve gathered your ingredients, it’s time to bring this creamy dreamy cream cheese filling to life! Don’t worry—this process is as easy as it is rewarding. Follow these simple steps, and you’ll have a perfect filling in no time.
Step-by-Step Instructions
- Prepare Your Tools: Grab a large mixing bowl, an electric mixer (or a sturdy whisk), and a spatula. Having all your tools within reach ensures the process is seamless and stress-free.
- Cream the Butter and Cream Cheese: In your mixing bowl, combine the softened cream cheese and butter. Beat them together on medium speed for 2-3 minutes until the mixture is light, fluffy, and completely smooth. Use your spatula to scrape the sides of the bowl occasionally, ensuring everything is evenly mixed.
- Add the Powdered Sugar: Gradually add the powdered sugar to the cream cheese mixture, about ½ cup at a time. Beat on low speed initially to avoid a sugar cloud, then increase to medium speed until fully incorporated. This step ensures a silky-smooth texture.
- Incorporate the Vanilla and Cream: Add the vanilla extract and 2 tablespoons of heavy cream or milk. Beat on medium speed for another 1-2 minutes until the filling is creamy and well-combined. If the mixture feels too thick, add an extra tablespoon of cream, one teaspoon at a time, until you reach your desired consistency.
- Taste and Adjust: Give the filling a quick taste. If you’d like it sweeter, add a bit more powdered sugar. For a tangier flavor, mix in a pinch of salt or a squeeze of lemon juice.
- Chill (Optional): If you’re not using the filling right away, cover the bowl with plastic wrap and refrigerate it for up to 3 days. Let it sit at room temperature for 15-20 minutes before using to make it easier to spread or pipe.
Pro Tips for Perfect Results
- Mix Just Enough: Once all the ingredients are fully combined, stop mixing. Overbeating can cause the filling to lose its structure and become too soft.
- Consistency Check: If you’re using the filling for piping, aim for a slightly thicker texture. For spreading, a softer consistency works best.
- Chill for Stability: If your filling feels too soft after mixing, pop it in the fridge for 15-20 minutes to firm up before using.
And there you have it—a luxuriously smooth cream cheese filling that’s ready to take your desserts to the next level! Whether you’re filling, frosting, or layering, this recipe is your secret weapon for creating show-stopping treats.
Pro Tips and Variations for Cream Cheese Filling Recipe
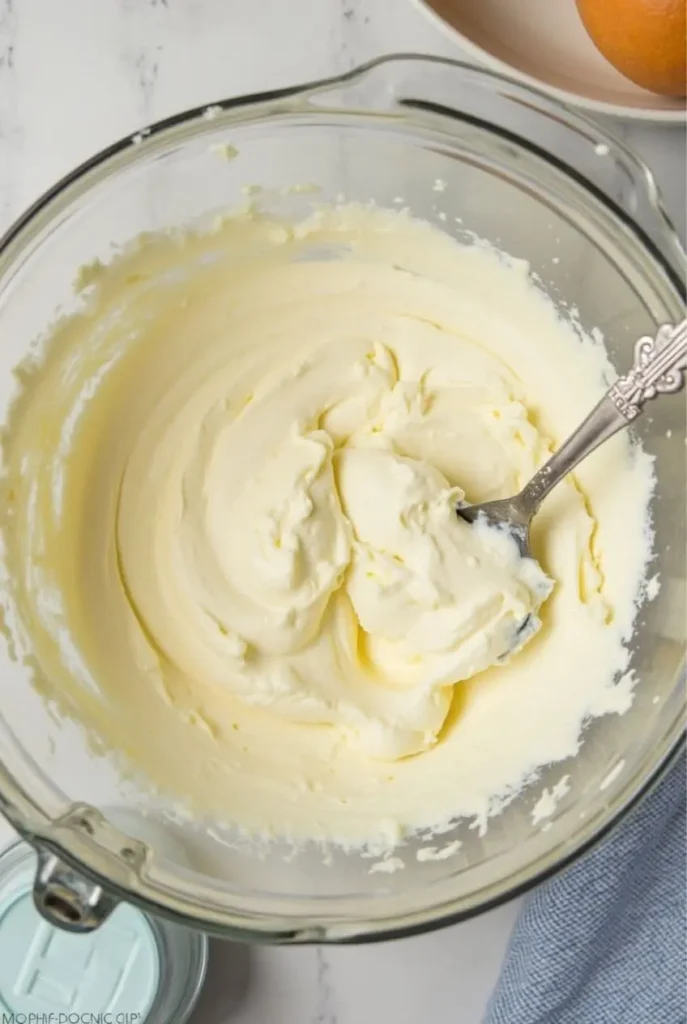
Now that you’ve mastered the basics of this dreamy cream cheese filling, let’s take it up a notch with some expert tips and creative variations. Whether you’re looking to tweak the flavor, adjust the texture, or simply store it for later, these insights will help you make the most of this versatile recipe.
Pro Tips for Perfect Results
- Room Temperature Ingredients: Always use softened cream cheese and butter. Cold ingredients can lead to a lumpy filling, while room-temperature ones blend seamlessly for a silky-smooth texture.
- Sift the Powdered Sugar: To avoid any graininess, sift the powdered sugar before adding it to the mixture. This ensures a perfectly smooth consistency every time.
- Adjust Consistency Gradually: If the filling feels too thick, add heavy cream or milk one teaspoon at a time until it reaches your desired texture. For piping, aim for a slightly firmer consistency; for spreading, go for a softer one.
- Chill Before Using: If the filling feels too soft after mixing, refrigerate it for 15-20 minutes. This helps it firm up, making it easier to pipe or spread.
- Why Butter Makes a Difference: Butter isn’t just for flavor—it’s essential for achieving the perfect texture in your cream cheese filling. The richness of butter helps create that velvety, smooth consistency we all love. To understand butter’s crucial role in baking, check out this in-depth guide from Britannica.
Flavor Variations to Try
- Citrus Zest: Add a teaspoon of lemon, lime, or orange zest for a bright, tangy twist. This works especially well in fruity desserts or summer treats.
- Chocolate Lover’s Dream: Mix in 2-3 tablespoons of cocoa powder for a rich, chocolatey version. Perfect for filling chocolate cakes or topping brownies!
- Spiced Delight: Stir in a pinch of cinnamon, nutmeg, or pumpkin spice for a warm, cozy flavor. Ideal for fall-inspired desserts like pumpkin rolls or spiced cupcakes.
- Berry Bliss: Fold in a few tablespoons of raspberry or strawberry puree for a fruity, vibrant filling. Great for layered cakes or pastries.
Storage and Make-Ahead Tips
- Refrigerate: Store the filling in an airtight container in the fridge for up to 3 days. Let it sit at room temperature for 15-20 minutes before using to soften slightly.
- Freeze for Later: You can easily freeze this filling for future use. Simply place it in a container designed for freezing, and it will keep well for about a month. When you’re ready to use it, thaw it overnight in the fridge and give it a quick whip to restore its creamy texture.
With these tips and variations, you can customize this cream cheese filling to suit any dessert or occasion. Whether you’re sticking to the classic recipe or experimenting with new flavors, the possibilities are endless!
Serving Suggestions for Cream Cheese Filling Recipe
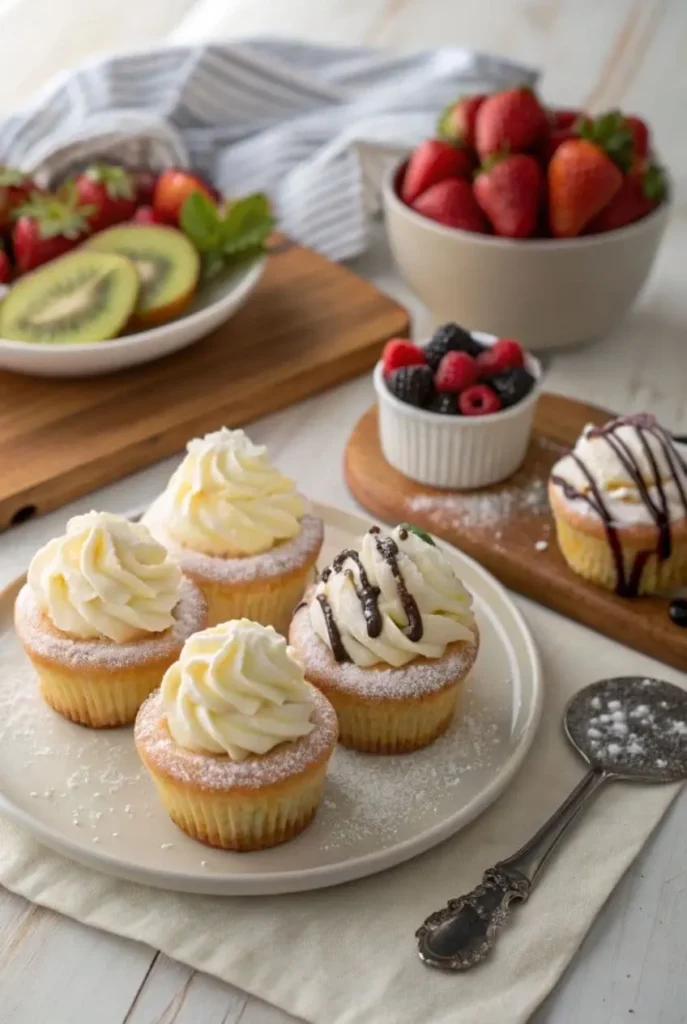
Now that you’ve whipped up this luxuriously creamy cream cheese filling, it’s time to put it to good use! This versatile filling is the star of countless desserts, and here are some delicious ways to enjoy it. Whether you’re baking for a special occasion or simply treating yourself, these serving ideas will inspire you to get creative.
Classic Dessert Pairings
- Cakes and Cupcakes: Spread or pipe this filling between layers of your favorite cake, like red velvet, carrot, or chocolate. It’s also perfect for frosting cupcakes—just add a swirl on top and watch them disappear!
- Pastries and Danishes: Use it as a filling for pastries, croissants, or homemade danishes. Pair it with fresh fruit or a drizzle of glaze for an extra touch of sweetness.
- Cinnamon Rolls: Swap out the traditional frosting for a generous layer of cream cheese filling. The tangy-sweet combo is irresistible!
- Fruit Tarts: Spread it over a pre-baked tart shell and top with fresh berries, kiwi, or mango slices for a refreshing dessert.
Creative Twists
- Stuffed French Toast: Spread the filling between slices of brioche or challah before dipping them in your egg mixture. Cook until golden and dust with powdered sugar for a decadent breakfast treat.
- Dessert Dip: Serve the filling as a dip alongside graham crackers, pretzels, or fresh fruit like strawberries and apple slices. It’s a hit at parties!
- Cheesecake Parfaits: Layer the filling with crushed graham crackers and fresh fruit in a glass for a quick and easy no-bake cheesecake experience.
- Pancake or Waffle Topping: Dollop the filling on top of warm pancakes or waffles, and drizzle with maple syrup for a breakfast upgrade.
Presentation Tips
- Garnish with Style: Add a sprinkle of powdered sugar, a drizzle of chocolate sauce, or a handful of crushed nuts to make your desserts look as good as they taste.
- Use a Piping Bag: For a professional touch, pipe the filling onto desserts using a star tip. It’s an easy way to elevate the look of cupcakes, tarts, or pastries.
- Pair with Fresh Fruit: Fresh berries, citrus zest, or sliced fruit not only add flavor but also make your desserts visually stunning.
With these serving suggestions, your cream cheese filling will shine in every dessert you create. Whether you’re sticking to classic pairings or trying something new, this filling is sure to impress. Ready to dig in?
______________________________________________________________
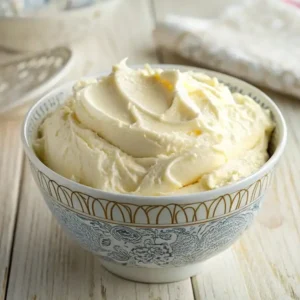
Cream Cheese Filling Recipe
Ingredients
Ingredients for Cream Cheese Filling:
- 8 oz 225g cream cheese, softened
- ½ cup 115g unsalted butter, softened
- 2 cups 250g powdered sugar
- 1 tsp pure vanilla extract
- 2-3 tbsp heavy cream or milk
Instructions
- Prepare Your Tools: Grab a large mixing bowl, an electric mixer (or a sturdy whisk), and a spatula. Having all your tools within reach ensures the process is seamless and stress-free.
- Cream the Butter and Cream Cheese: In your mixing bowl, combine the softened cream cheese and butter. Beat them together on medium speed for 2-3 minutes until the mixture is light, fluffy, and completely smooth. Use your spatula to scrape the sides of the bowl occasionally, ensuring everything is evenly mixed.
- Add the Powdered Sugar: Gradually add the powdered sugar to the cream cheese mixture, about ½ cup at a time. Beat on low speed initially to avoid a sugar cloud, then increase to medium speed until fully incorporated. This step ensures a silky-smooth texture.
- Incorporate the Vanilla and Cream: Add the vanilla extract and 2 tablespoons of heavy cream or milk. Beat on medium speed for another 1-2 minutes until the filling is creamy and well-combined. If the mixture feels too thick, add an extra tablespoon of cream, one teaspoon at a time, until you reach your desired consistency.
- Taste and Adjust: Give the filling a quick taste. If you’d like it sweeter, add a bit more powdered sugar. For a tangier flavor, mix in a pinch of salt or a squeeze of lemon juice.
- Chill (Optional): If you’re not using the filling right away, cover the bowl with plastic wrap and refrigerate it for up to 3 days. Let it sit at room temperature for 15-20 minutes before using to make it easier to spread or pipe.
Notes
- Calories: 120 kcal
- Fat: 9g
- Saturated Fat: 5g
- Trans Fat: 0g
- Cholesterol: 30mg
- Sodium: 40mg
- Carbohydrates: 10g
- Fiber: 0g
- Sugars: 9g
- Protein: 1g
- Vitamin A: 4% DV
- Calcium: 2% DV
- Iron: 0% DV
Conclusion: Why You’ll Love This Cream Cheese Filling Recipe
And there you have it—a dreamy cream cheese filling that’s as versatile as it is delicious! With just a handful of simple ingredients and a few easy steps, you can create a creamy, luscious filling that elevates any dessert. Whether you’re filling cakes, frosting cupcakes, or experimenting with creative treats, this recipe is your secret weapon for adding a touch of indulgence to every bite.
Don’t be afraid to make it your own—play with flavors, try new pairings, and most importantly, have fun in the kitchen. This filling is forgiving, beginner-friendly, and guaranteed to impress. So, grab your ingredients and start creating desserts that will have everyone asking for seconds. Happy baking!
FAQs About Cream Cheese Filling Recipes
Got questions about this dreamy cream cheese filling? Don’t worry—I’ve got you covered! Here are answers to some of the most common questions to help you nail this recipe every time.
1. Can I use low-fat cream cheese?
Yes, you can, but keep in mind that low-fat cream cheese has a higher water content, which might affect the texture. For the creamiest, richest results, I recommend sticking with full-fat cream cheese.
2. How do I fix a lumpy filling?
If your filling turns out lumpy, it’s likely because the cream cheese or butter wasn’t fully softened. To fix it, let the mixture sit at room temperature for 10-15 minutes, then beat it again until smooth. If needed, add a splash of heavy cream to help blend it.
3. Can I make this filling ahead of time?
Absolutely! This filling stores beautifully. Just transfer it to an airtight container and refrigerate for up to 3 days. Let it sit at room temperature for 15-20 minutes before using to make it easier to spread or pipe.
4. Can I freeze cream cheese filling?
Yes, you can! Simply store it in a container designed for freezing, and it will keep well for about a month. When you’re ready to use it, thaw it overnight in the fridge and give it a quick whip to restore its creamy texture.
5. What can I use instead of powdered sugar?
If you don’t have powdered sugar, you can make your own by blending granulated sugar with a bit of cornstarch in a high-speed blender until fine. Keep in mind that granulated sugar won’t dissolve as easily, so the texture might be slightly grainier.
6. Can I add flavors to the filling?
Definitely! This recipe is a blank canvas for creativity. Try adding citrus zest, cocoa powder, fruit puree, or even a pinch of spice like cinnamon or nutmeg to customize the flavor.
7. Why is my filling too runny?
A runny filling usually means the ingredients were overmixed or the cream cheese and butter were too soft. To fix it, chill the filling in the fridge for 15-20 minutes, then whip it again until it reaches the desired consistency.

