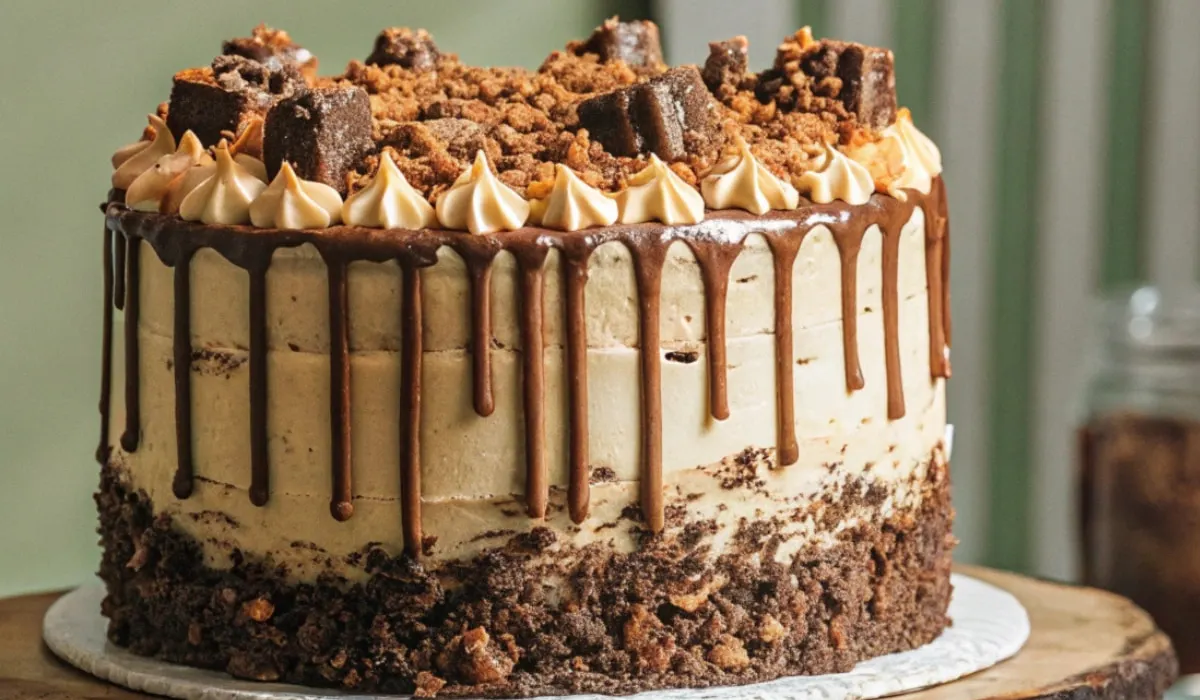
Butterfinger Cake is the ultimate dessert for anyone who loves a sweet treat with a mix of creamy, crunchy, and caramel flavors. Whether you’re preparing for a family gathering, a holiday celebration, or simply want to indulge your sweet tooth, this cake is guaranteed to impress. With its soft yellow cake base soaked in sweetened condensed milk and caramel sauce, topped with whipped cream and crushed Butterfinger candy bars, this recipe strikes the perfect balance between decadence and simplicity.
This step-by-step guide will walk you through everything you need to know to make the perfect Butterfinger Cake. From gathering the ingredients to mastering the layering process, you’ll find all the tips and tricks to create a dessert that’s as visually stunning as it is delicious. Don’t worry if you’re not a seasoned baker—this recipe is beginner-friendly and requires no special skills or equipment.
Butterfinger Cake is more than just a dessert; it’s an experience that brings people together. The nostalgic flavors of Butterfinger candy paired with the rich, moist cake make it a hit for all ages. Ready to get started? Let’s dive into this easy and irresistible recipe that will leave everyone asking for seconds!
Table of Contents
Why You’ll Love This Butterfinger Cake
Before we get started, let’s talk about why Butterfinger Cake is such a crowd-pleaser:
- A Perfect Blend of Flavors: The combination of moist yellow cake, sweetened condensed milk, caramel sauce, and Butterfinger bars creates a rich, decadent dessert that satisfies every sweet tooth.
- Simple and Quick: You don’t need to be a seasoned baker to make this cake. With just a few ingredients and straightforward steps, this recipe is ideal for beginners and experienced bakers alike.
- A Show-Stopping Dessert: This cake looks as good as it tastes. The caramel and whipped topping give it a creamy texture, while the Butterfinger crunch adds the perfect amount of contrast.
If you love Butterfingers or caramel-flavored treats, you’re going to be hooked on this cake from the first bite.
Ingredients You’ll Need
To make this delicious Butterfinger Cake, gather the following ingredients:
| Ingredient | Quantity |
| Yellow cake mix | 1 box |
| Eggs | As per cake mix instructions |
| Vegetable oil | As per cake mix instructions |
| Sweetened condensed milk | 1 can (14 oz) |
| Caramel sauce | 1 cup |
| Whipped topping (Cool Whip) | 1 container (8 oz) |
| Butterfinger candy bars | 4-5 (crushed) |
You’ll find these ingredients at your local grocery store, and you likely already have a few of them in your pantry. Now that you have everything, let’s get started on the recipe!
Step-by-Step Guide to Making Butterfinger Cake
This Butterfinger Cake recipe is as simple as it is delicious. Follow these steps to create a cake that’s sure to become your new favorite dessert.
Step 1: Bake the Cake Base
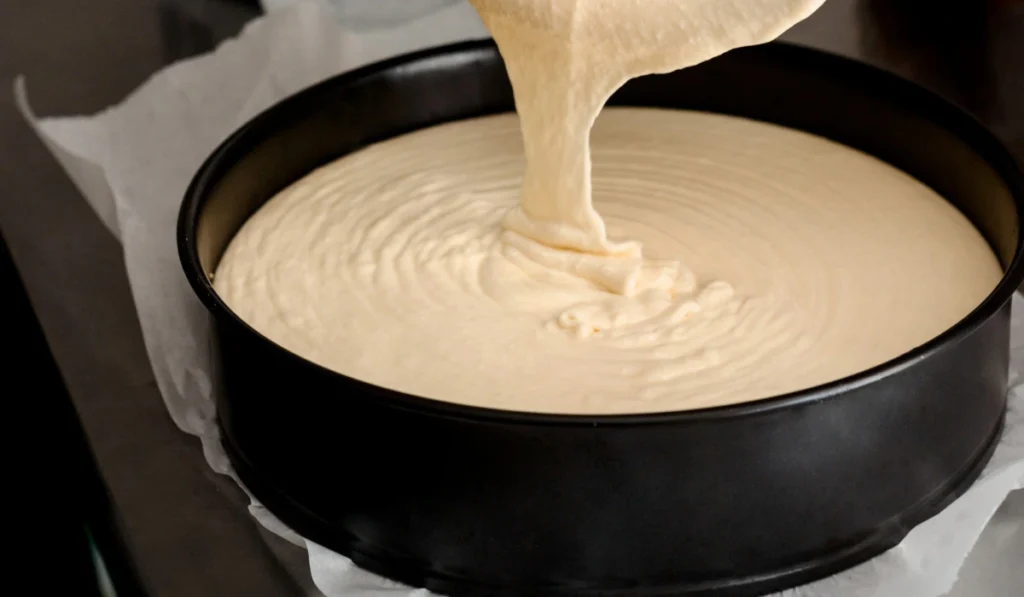
- Preheat Your Oven: Set your oven to the temperature indicated on the cake mix box. Typically, it will be around 350°F (175°C), but be sure to check your cake mix instructions for accuracy.
- Prepare the Cake Batter: In a large bowl, mix the cake mix with the required eggs, vegetable oil, and water (or any other ingredients listed on the box). Use a hand mixer or whisk to combine the ingredients until the batter is smooth.
- Bake the Cake: Bake the Cake: Transfer the batter into a greased 9×13-inch baking dish. Bake the cake according to the time indicated on the cake mix box. The cake should be golden brown and a toothpick inserted into the center should come out clean.
- Cool the Cake: Allow the cake to cool for about 10-15 minutes in the pan. You want the cake to be warm but not too hot when you add the next ingredients.
Step 2: Add Sweetened Condensed Milk and Caramel Sauce
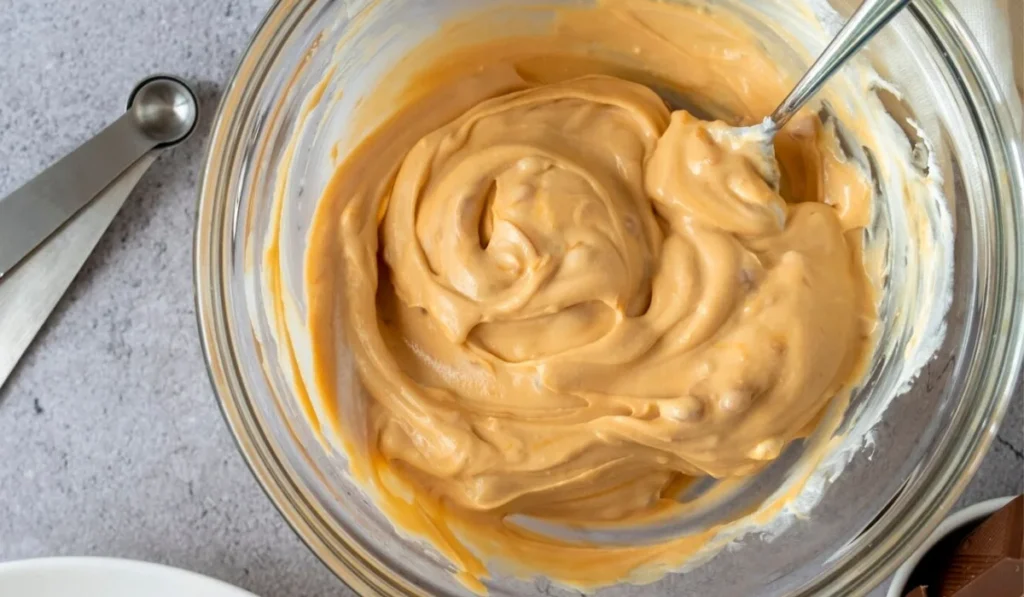
Once the cake has cooled slightly, it’s time to add the sweetened condensed milk and caramel sauce. These ingredients make the cake rich, moist, and absolutely delicious.
- Poke Holes in the Cake: Use a skewer, fork, or even a chopstick to poke holes all over the top of the cake. The holes need to be roughly one inch apart. Don’t worry about making them perfect; the goal is to create spaces for the sweetened condensed milk to soak into the cake.
- Pour the Sweetened Condensed Milk: Open the can of sweetened condensed milk and slowly pour it over the cake. Make sure the milk seeps into the holes, covering as much of the cake as possible. The milk will make the cake incredibly moist and add a rich sweetness.
- Drizzle Caramel Sauce: Next, pour about a cup of caramel sauce over the cake. The caramel will add depth of flavor and a smooth, creamy texture to the dessert.
At this point, the cake will be a little sticky and soaked with the sweetened condensed milk and caramel sauce. Let it cool for about 20-30 minutes at room temperature, so the cake can absorb all those wonderful flavors.
Step 3: Add the Toppings
Now comes the fun part—adding the whipped topping and Butterfinger candy bars!
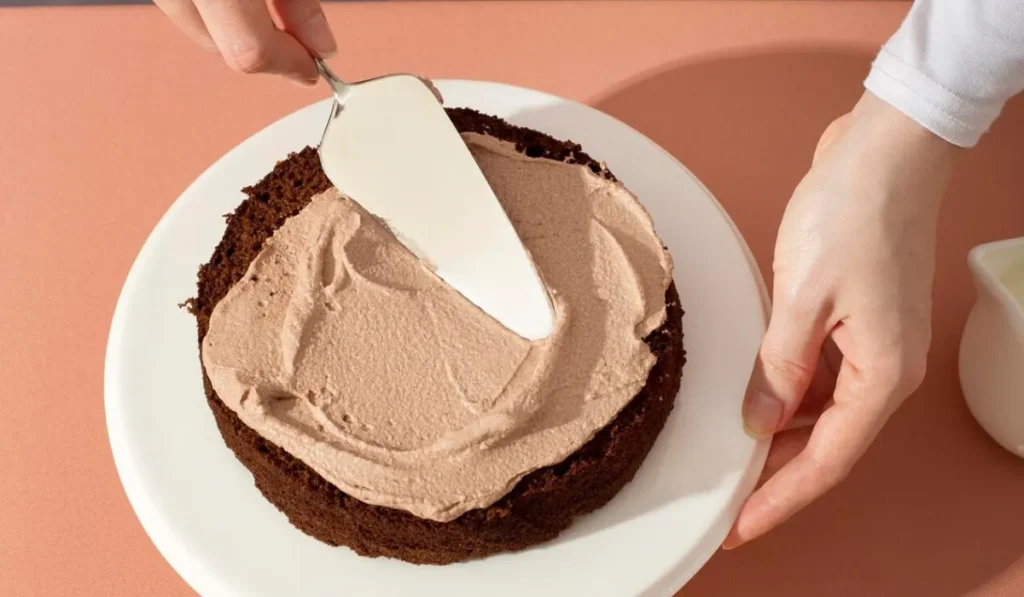
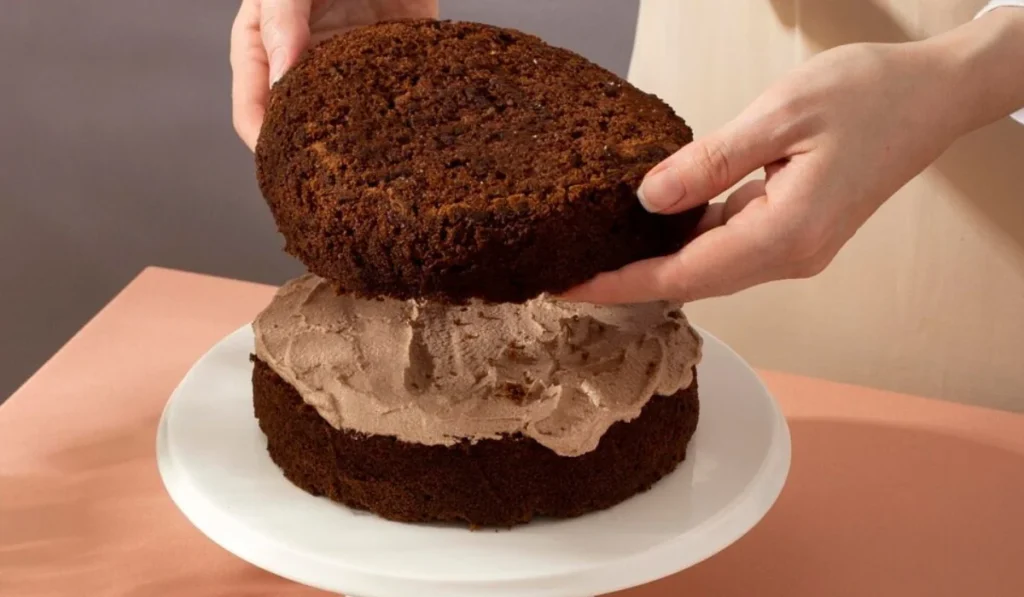
- Spread Whipped Topping: Once the cake has cooled completely, spread a layer of whipped topping (like Cool Whip) evenly over the surface. The whipped topping will add a creamy, light texture that contrasts beautifully with the dense, moist cake.
- Crush the Butterfinger Bars: Take 4-5 Butterfinger candy bars and crush them into small pieces. You can do this by placing the bars in a plastic bag and smashing them with a rolling pin, or using a food processor. Sprinkle the crushed Butterfinger bars generously over the whipped topping. The candy bars will add a satisfying crunch and a delicious peanut butter flavor that complements the caramel and cake.
Step 4: Chill and Serve
The final step is to refrigerate the cake. This helps the flavors combine and makes the cake simpler to cut.
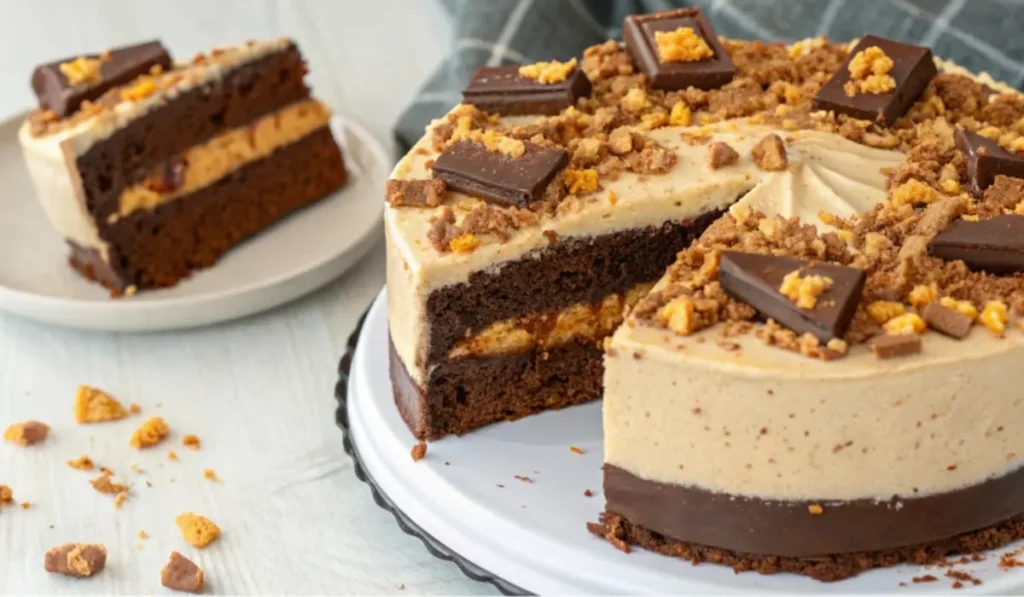
- Chill the Cake: Cover the cake with plastic wrap or foil and refrigerate it for at least 2 hours. This will help the whipped topping set and give the cake time to absorb all the delicious toppings.
- Serve: After chilling, cut the cake into squares and enjoy! This Butterfinger Cake is perfect for any occasion, whether it’s a family dinner, a potluck, or a celebration.
Tips for Perfect Butterfinger Cake Every Time
- Use a Hand Mixer for Smooth Batter: A hand mixer helps you achieve a smoother cake batter, which results in a lighter and fluffier cake.
- Crush Butterfinger Bars Evenly: For the best texture, crush the Butterfinger bars into small, even pieces. You can also use a knife to chop them into small bits if you prefer.
- Chill for the Best Texture: Be patient and allow the cake to chill in the fridge for a few hours. This makes the texture firmer and helps the flavors develop.
- Add Extra Toppings: If you want to make the cake even more decadent, drizzle extra caramel sauce or sprinkle more crushed Butterfingers on top just before serving.
Tips for Success
To ensure your Butterfinger Cake turns out perfect every time, follow these expert tips:
- Cool the Cake Completely: Allow your cake to cool fully before adding the sweetened condensed milk and caramel sauce. This prevents it from becoming overly soggy.
- Crush Butterfinger Bars Gently: Use a rolling pin or food processor to achieve the ideal texture—fine enough to sprinkle but chunky enough for a satisfying crunch.
- Spread Whipped Topping Evenly: For a smooth finish, use an offset spatula to layer the whipped topping evenly across the cake.
- Use Fresh Ingredients: Fresh whipped topping and high-quality caramel sauce elevate the flavor of the cake.
Storing and Freezing Butterfinger Cake
Butterfinger Cake is as easy to store as it is to make. Here’s how to keep it fresh:
- Refrigeration: Keep the cake in an airtight container in the refrigerator for up to 4 days. The whipped topping helps keep the cake moist and flavorful.
- Freezing: To freeze, slice the cake into portions and wrap each piece in plastic wrap, then place them in a freezer-safe container. It can be kept in the freezer for up to 3 months, retaining its quality and flavor. Defrost in the fridge overnight prior to serving. Freezing preserves it for up to three months.
- Avoid Topping Before Storage: If you plan to store the cake for a longer time, wait to add the whipped topping and Butterfinger crumbles until just before serving.
Bring Joy to Every Bite
Butterfinger Cake is more than just a dessert; it’s a crowd-pleaser that brings joy with every bite. The combination of sweetened condensed milk, caramel sauce, and Butterfinger candy bars makes this cake a memorable treat that’s perfect for any occasion. Whether you’re baking for a birthday, holiday, or just a casual family get-together, this Butterfinger Cake will undoubtedly steal the show.
Don’t wait—gather your ingredients and follow this simple step-by-step guide to create a cake that will have everyone asking for seconds. You’ll be amazed at how easy it is to make, and the results will leave you and your guests delighted.
Frequently Asked Questions About Butterfinger Cake
Can I use a different cake mix flavor for Butterfinger Cake?
Yes! While yellow cake mix is the traditional choice, you can experiment with other flavors like chocolate or caramel cake mix. The key is to maintain the same moist texture that the cake mix provides.
How long does Butterfinger Cake last?
If stored properly in an airtight container in the refrigerator, Butterfinger Cake can stay fresh for up to 5 days. The flavors will even improve after a day or two, so feel free to make it ahead of time.
Can I make Butterfinger Cake ahead of time?
Absolutely! This cake truly tastes better the next day as the flavors come together. Prepare it a day ahead for optimal flavor.
What’s the best way to crush Butterfinger bars?
The easiest way to crush Butterfinger bars is by placing them in a resealable plastic bag and using a rolling pin or mallet to crush them into small pieces. A food processor can also be used to achieve faster results.
Is it possible to substitute homemade caramel sauce for store-bought?
Yes! If you prefer to use homemade caramel sauce, it will work perfectly in this recipe. Just make sure the sauce is smooth and slightly cooled before pouring it over the cake.
Ready to Bake?
Now that you have the recipe and tips, it’s time to bake your own Butterfinger Cake. Gather your ingredients, follow the simple steps, and enjoy this delicious dessert with your loved ones. Don’t forget to share your results and spread the joy of Butterfinger Cake!
Conclusion: Your Ultimate Guide to Butterfinger Cake
Now that you know exactly how to make Butterfinger Cake, it’s time to experience the magic for yourself. This simple yet indulgent dessert combines the rich, creamy texture of sweetened condensed milk, the irresistible crunch of Butterfinger candy bars, and the smoothness of caramel sauce to create a cake that’s bound to become a staple in your recipe collection.
Imagine the joy on your family and friends’ faces when they take their first bite of this decadent treat. It’s more than just a dessert—it’s a celebration of flavors that will leave everyone asking for the recipe. And the best part? You don’t have to be a professional baker to pull it off. With just a few ingredients and easy-to-follow steps, you can create a show-stopping cake that will have everyone talking.
Whether you’re planning a special occasion or simply want to treat yourself to something sweet, Butterfinger Cake is the perfect choice. You’ll be amazed at how quickly it comes together and how much flavor it packs. So, what are you waiting for? Grab your ingredients, preheat the oven, and start baking this delightful cake today!
Are you ready to indulge in a dessert that combines the best of creamy, crunchy, and sweet? Butterfinger Cake is the answer to your cravings. Don’t forget to share it with your loved ones—you’ll make memories with every slice!

