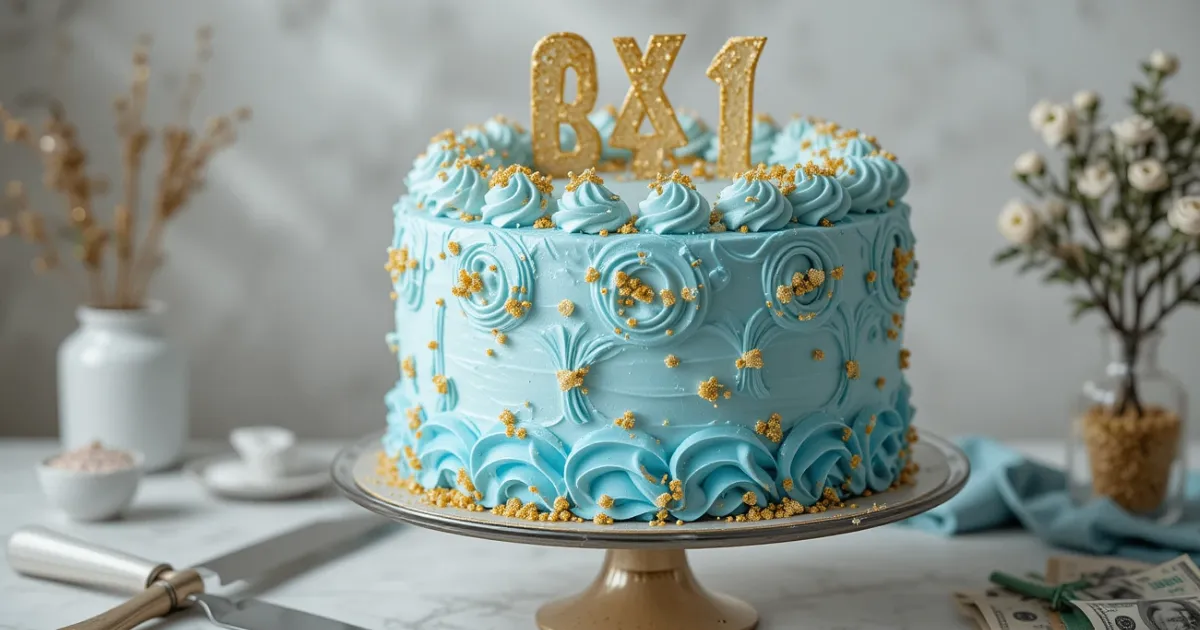
Looking for a show-stopping dessert that will make your little one’s birthday extra special? This Bluey cake is just the ticket—a fun, vibrant treat inspired by everyone’s favorite Australian pup! Whether you’re a baking pro or a first-timer, this easy cartoon cake comes together with simple ingredients and a sprinkle of creativity.
Imagine the joy on your child’s face when they see Bluey’s smiling face on their themed party dessert—no fondant skills required! With a fluffy vanilla sponge, smooth buttercream, and a few clever tricks, you’ll have a kid-friendly dessert that’s as delightful to make as it is to serve.
Table of Contents
Table of Contents
Key Benefits – Why This Bluey Cake Steals the Show
Every great baking project starts with inspiration—and what could be more motivating than creating a Bluey-themed cake that sparks pure joy? Here’s why this recipe deserves a spot in your party plans:
Kid-Approved Magic
- Instant recognition: Bluey’s cheerful face turns your dessert into the star of the celebration.
- Nostalgic charm: Parents love the nod to the beloved show, making it a hit across generations.
Stress-Free Baking
- No fondant fuss: Achieve a polished look with easy buttercream techniques—perfect for beginners.
- Make-ahead friendly: Bake the vanilla sponge a day ahead, or freeze layers for last-minute prep.
Customizable for All
- Dietary swaps: Use gluten-free flour or plant-based milk for allergies without sacrificing flavor.
- Creative freedom: Change up colors (try mint for Bluey’s dress!) or add sibling character toppers like Bingo.
Party-Ready Wow Factor
- Budget-smart: Skip expensive bakery cakes—this DIY version costs less and tastes fresher.
- Double-duty dessert: Serve slices alongside Bluey cupcakes for a cohesive theme.
Pro Tip: Want extra giggles? Add edible “mud” puddles (chocolate sauce) or “Daddy’s coffee” (caramel drizzle) for playful details straight from the show!
Everything You Need for the Perfect Bluey Cake
Gathering your ingredients is the first step to baking success! Here’s your complete shopping list for a fluffy vanilla sponge cake and vibrant buttercream frosting that’ll bring Bluey to life. I’ve included smart substitutions so everyone can enjoy this treat, no matter their dietary needs.
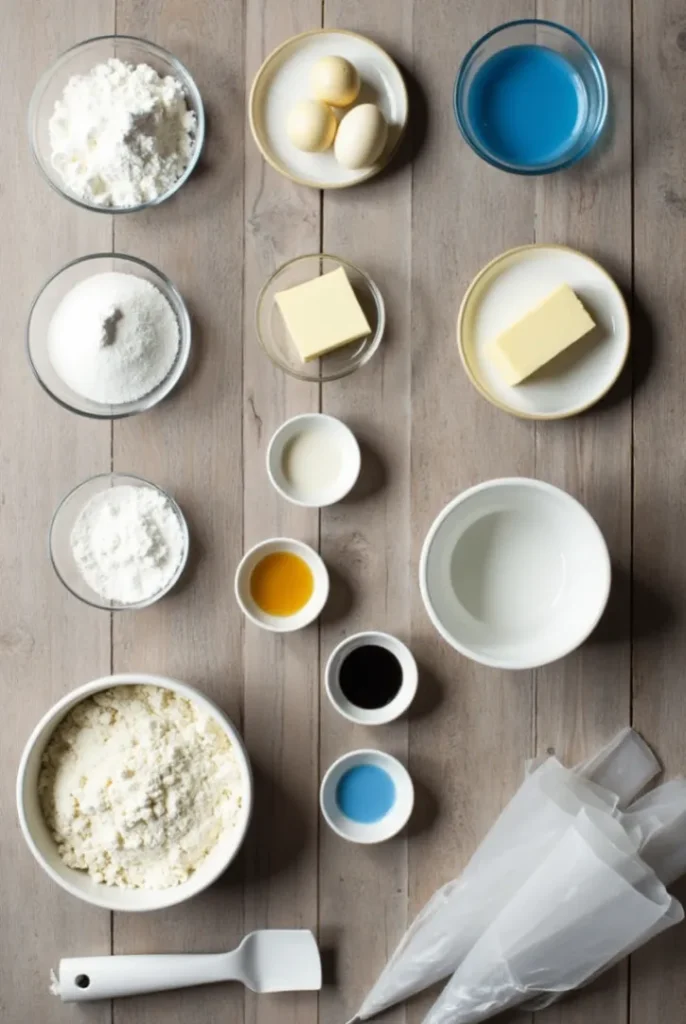
For the Vanilla Sponge Cake (Makes two 8-inch layers)
- 2 ½ cups (315g) all-purpose flour (or 1:1 gluten-free blend)
- 2 cups (400g) granulated sugar
- 1 tbsp baking powder (aluminum-free for cleaner taste)
- 1 tsp salt
- 1 cup (240ml) whole milk (or unsweetened almond milk for dairy-free)
- ½ cup (120ml) vegetable oil (or melted coconut oil)
- 2 tsp alcohol-free vanilla extract (or vanilla bean paste for intense flavor)
- 3 large eggs, room temperature (or ¾ cup applesauce for egg-free)
- ½ cup (120g) Greek yogurt (makes the crumb extra tender)
For the Buttercream Frosting
- 1 ½ cups (340g) unsalted butter, softened (or plant-based butter)
- 6 cups (720g) powdered sugar, sifted
- 3-4 tbsp heavy cream (or coconut cream)
- 1 tsp alcohol-free vanilla extract
- Gel food coloring: Sky blue, black, and white (I recommend Americolor or Wilton brands for vibrant hues)
For Decorating
- Piping bags + round tip (#3 for details, #12 for borders)
- Offset spatula for smooth frosting
- Edible food markers (for drawing Bluey’s facial features)
Ingredient Tips for Success:
- Room temp matters! Cold eggs or butter can cause curdling—let them sit out for 30 minutes before baking.
- Color like a pro: Gel dyes (not liquid) give rich, fade-proof shades without thinning your frosting.
- No last-minute runs: Check your pantry now for baking powder expiration dates!
Why These Ingredients Work: The Greek yogurt adds moisture to the cake, while the alcohol-free vanilla keeps it kid-friendly. The buttercream ratio is perfect for holding its shape when piping Bluey’s iconic spots.
Baking & Decorating Your Bluey Cake Step-by-Step
Let’s transform those ingredients into a cake that’ll make your little one’s eyes light up! Follow these foolproof steps for a moist vanilla cake and smooth buttercream decorations that capture Bluey’s playful spirit.
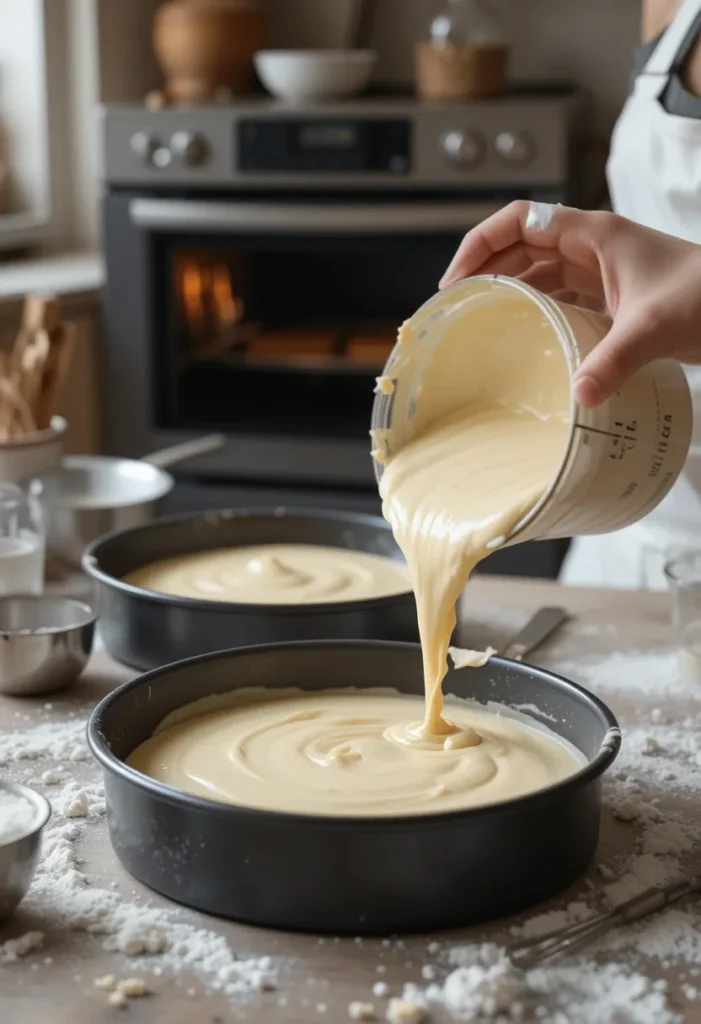
Step 1: Bake the Perfect Vanilla Layers
- Prep smart:
- Preheat oven to 350°F (175°C).
- Grease two 8-inch round pans, then line with parchment paper (no sticking guaranteed!).
- Mix dry ingredients:
- In a large bowl, whisk together flour, sugar, baking powder, and salt until no lumps remain.
- Combine wet ingredients:
- In another bowl, blend milk, oil, vanilla, eggs, and yogurt until smooth.
- Fold & bake:
- Gently mix wet ingredients into dry batter—stop as soon as it’s combined (overmixing = tough cake).
- Divide evenly between pans. Bake 25-30 minutes until golden and a toothpick comes out clean.
- Cool in pans for 10 minutes, then transfer to a wire rack.
Pro Tip: Level your cakes with a serrated knife while slightly warm—they’re easier to trim!
Step 2: Whip Up the Buttercream
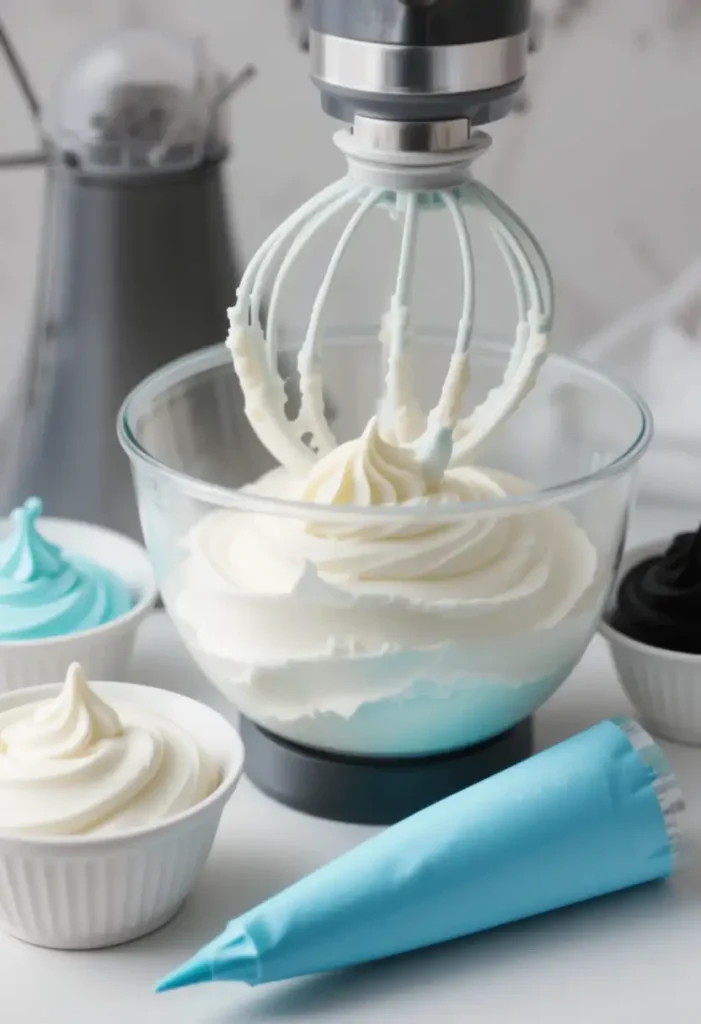
- Cream the butter: Beat softened butter on medium speed for 2 minutes until pale and fluffy.
- Add sugar gradually: Mix in powdered sugar 1 cup at a time, alternating with cream.
- Color divide:
- Portion frosting: 70% sky blue, 20% white, 10% black (for details).
- Use toothpicks to add gel color sparingly—you can always deepen shades.
Step 3: Assemble & Decorate Like a Pro
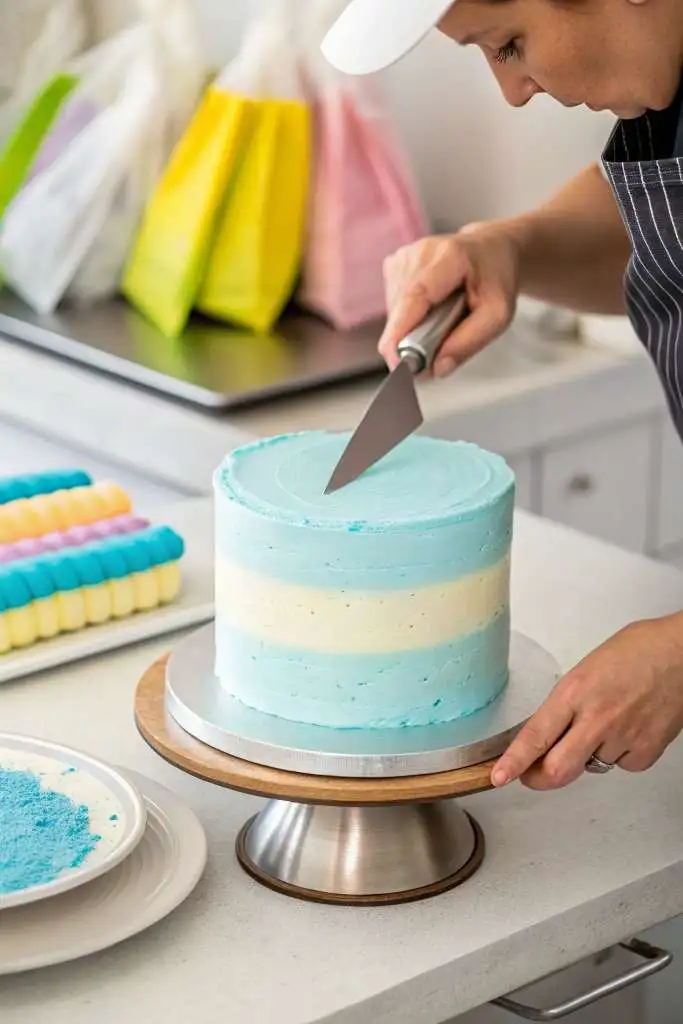
- Stack & crumb coat:
- Place first layer on a cake board. Spread ½ cup blue frosting, then top with second layer.
- Apply a thin “crumb coat” of blue frosting over the entire cake. Chill for 20 minutes (this traps crumbs).
- Final frost & pipe:
- Use an offset spatula to apply the final blue frosting layer. Smooth with a bench scraper.
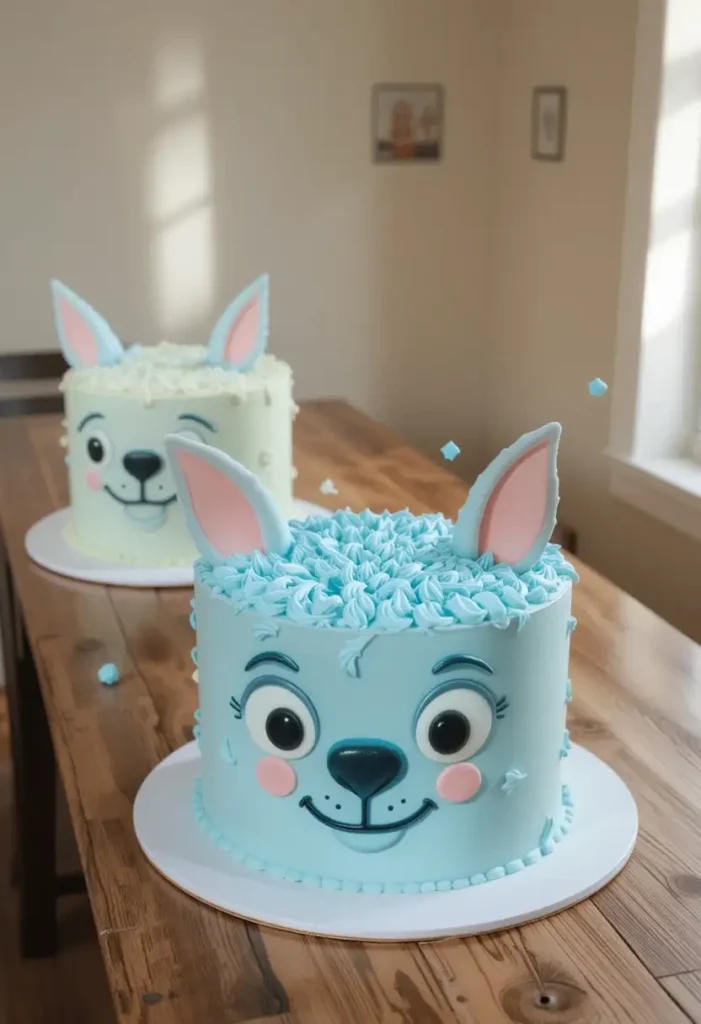
- Pipe white frosting for Bluey’s eyes/mouth (#3 tip), then add black pupils and nose.
- Add signature details:
- Use an edible marker to draw her sweet smile and whiskers.
- Pipe blue “fur” texture along the sides with a #12 tip (short upward strokes).
Troubleshooting Help:
- Buttercream too soft? Chill for 10 minutes before piping.
- Frosting tearing the cake? Your layers might be too warm—pop them back in the fridge.
Final Touch: Surround the cake with Bluey-themed toys or fresh berries for a festive presentation!
Pro Tips & Variations – Elevate Your Bluey Cake Like a Pastry Chef
Take your Bluey cake from great to extraordinary with these insider secrets and creative twists! Whether you’re short on time or want to level up your decorating game, these tips ensure success for every baker.
Pro Decorating Techniques
- The “Freezer Trick”:
Chill your frosted cake for 15 minutes before piping details—this prevents smudging when adding facial features. - Sharper Lines:
Use a toothpick to lightly sketch Bluey’s face on the frosting before piping (it’s like a edible pencil guide!). - Texture Magic:
Create “fur” by dabbing a clean kitchen sponge lightly onto blue frosting for a playful, dimensional effect.
Brilliant Time-Savers
- Bake Ahead:
Cake layers stay fresh for 3 days wrapped in plastic at room temp, or freeze for up to 1 month. - Shortcut Option:
Use store-bought vanilla cake mix + add ½ cup Greek yogurt to the batter for extra moisture.
Dietary Adaptations (All equally delicious!)
- Gluten-Free:
Swap all-purpose flour for 1:1 gluten-free blend + ½ tsp xanthan gum for structure. - Dairy-Free:
Use plant-based butter and coconut milk—the gel food colors will still adhere perfectly. - Egg-Free:
Replace each egg with ¼ cup unsweetened applesauce + ½ tsp baking powder.
Showstopping Variations
- Bluey & Bingo Duo:
Bake 4 layers to create a stacked cake—decorate one tier as each character. - Cupcake Version:
Use the same batter for 24 cupcakes. Pipe Bluey’s face using a #1A tip for easy swirls. - “Bluey’s Playground” Cake:
Cover the top with crushed graham cracker “dirt,” gummy worms, and fondant mushrooms.
Color Mixing Guide:
- Perfect Blue: 5 drops sky blue + 1 drop royal blue gel color
- True Black: Mix equal parts black + cocoa powder (prevents gray tones)
Storage Tip:
Keep decorated cake at room temp up to 2 days (avoid fridge—it dries out frosting). For longer storage, freeze UNFROSTED layers wrapped in cling film + foil.
Serving Suggestions – Presenting Your Bluey Cake for Maximum Wow Factor
Now that your masterpiece is complete, let’s make it the star of the party with these creative presentation ideas and serving tips that will delight kids and adults alike!
Showcase Your Creation
- Cake Stand Magic:
Elevate your Bluey cake on a white or pastel stand to make the colors pop (try a rotating stand for easy viewing). - Themed Backdrop:
Place the cake in front of Bluey wall decals or a simple DIY banner for instant photo-op appeal.
Perfect Pairings
- With Ice Cream:
Serve slices with vanilla bean ice cream (“Daddy’s favorite” style!) - Party-Friendly Sides:
- Bluey-blue JELLO cups
- “Biscuit” shaped cookies (graham crackers or shortbread)
- Fruit skewers with blueberries and marshmallows
Serving Tips for Different Settings
- Birthday Parties:
- Cut cake into 1.5″ slices for little hands (yields about 24 servings from an 8″ cake)
- Label the dessert table with fun signs: “Bluey’s Cake Stall” or “Heeler Family Treats”
- Classroom Celebrations:
- Opt for cupcake versions for easier distribution
- Include allergy-safe options in separate containers
- At-Home Celebrations:
- Create a “build your own slice” station with extra frosting and sprinkles
Make It Interactive
- Edible Decorations:
Let kids add their own toppings like:- Blue M&M’s (for “blueberries”)
- Shredded coconut (dyed green for “grass”)
- Activity Idea:
Include printable Bluey toppers or cupcake wrappers as a craft activity
Storage Reminder:
- Leftovers keep for 3 days under a cake dome (press plastic wrap directly on cut sides to prevent drying)
- Freeze individual slices wrapped in parchment + foil for up to 1 month
Presentation Pro Tip:
Use a warm knife (dipped in hot water and dried) for clean slices that show off your beautiful layers!
____________________________________________________________________

Bluey Cake
Ingredients
- For the Vanilla Sponge Cake:
- 2 ½ cups 315g all-purpose flour (or gluten-free blend)
- 2 cups 400g granulated sugar
- 1 tbsp baking powder
- 1 tsp salt
- 1 cup 240ml milk (dairy or dairy-free)
- ½ cup 120ml vegetable oil (or melted coconut oil)
- 2 tsp vanilla extract
- 3 large eggs or egg substitute
- ½ cup 120g Greek yogurt (or non-dairy yogurt)
- For the Buttercream Frosting:
- 1 ½ cups 340g unsalted butter (or plant-based butter)
- 6 cups 720g powdered sugar, sifted
- 3-4 tbsp heavy cream or coconut cream for dairy-free
- 1 tsp vanilla extract
- Gel food coloring: Sky blue black, and white
Instructions
Bake the Cake Layers:
- Preheat oven to 350°F (175°C). Grease and line two 8-inch round cake pans with parchment paper.
- Mix dry ingredients (flour, sugar, baking powder, and salt) in a bowl.
- In a separate bowl, combine milk, oil, vanilla, eggs, and yogurt. Mix until smooth.
- Combine wet and dry ingredients. Pour into pans and bake for 25-30 minutes or until a toothpick comes out clean. Cool.
Make the Buttercream:
- Beat softened butter for 2 minutes until fluffy. Gradually add powdered sugar, alternating with cream, until smooth.
- Divide frosting into three portions: 70% sky blue, 20% white, 10% black (for details).
Assemble and Decorate:
- Once cakes are cool, level them and stack with frosting between layers.
- Apply a crumb coat of blue frosting and chill for 20 minutes.
- Frost with the final layer of blue frosting, smooth with a bench scraper.
- Pipe Bluey’s eyes, mouth, and fur using white and black frosting.
Pro Tips:
- Chill the Cake Layers: Refrigerating your cake layers before frosting will help avoid crumbs in your frosting.
- Make Ahead: You can bake the cake layers a day ahead and store them in an airtight container.
- Piping Details: If you’re new to piping, use a toothpick to sketch Bluey’s face on the cake before piping for precision.
Notes
- Calories: 350 kcal
- Total Fat: 18g
- Saturated Fat: 10g
- Trans Fat: 0g
- Cholesterol: 55mg
- Sodium: 180mg
- Total Carbohydrates: 46g
- Dietary Fiber: 1g
- Sugars: 35g
- Protein: 3g
- Vitamin A: 8% DV
- Vitamin C: 2% DV
- Calcium: 2% DV
- Iron: 6% DV
FAQS
What does the cake symbolize?
Cakes often symbolize celebration, joy, and milestones (like birthdays, weddings, or achievements). In some cultures, they represent prosperity, unity, or even indulgence.
What color icing for a Bluey cake?
For a Bluey (the children’s show) themed cake, use light blue icing (like Bluey’s fur) with white, dark blue, and yellow accents for details.
How many dollar bills do I need to make a money cake?
It depends on the size, but a small money cake (6-8 inches) may need 50-100 bills, while a larger one could require 200+. You can also mix real bills with fake ones for filler.
Can you put hot glue on money?
Yes, but be careful—hot glue can damage bills if applied directly. Use it sparingly or attach money with double-sided tape or paper clips instead to preserve the bills.
Conclusion – Your Bluey Cake Adventure Awaits!
Congratulations, baker! You’re now ready to create a showstopping Bluey cake that will become the highlight of your celebration. Let’s recap why this recipe is truly special:
Why This Cake Wins Hearts
- Pure joy in every bite: That first glimpse of Bluey’s smiling face will create magical memories
- Achievable artistry: Professional-looking results with beginner-friendly techniques
- Flexible foundation: Adapts to dietary needs without compromising on flavor or fun
Your Baking Journey Made Easier
Remember these key takeaways:
- Perfect layers start with room-temperature ingredients – it makes all the difference!
- Chill your cake at two crucial moments:
- After crumb coating (for clean edges)
- Before piping details (for precise decorations)
- Embrace imperfections – Bluey’s charm is in her playful spirit, and your cake should reflect that too
Keep the Fun Going
- Share your creation: Snap photos in natural light to capture those vibrant colors
- Make it a tradition: Bookmark this recipe for future birthdays or Bluey-themed playdates
- Grow your skills: Try different character cakes using these same techniques
Final Encouragement:
Remember when Bluey turns a simple game into an epic adventure? That’s exactly what you’ve done here – transformed basic ingredients into something extraordinary. Whether this is your first decorated cake or your fiftieth, you’ve created more than just dessert… you’ve baked happiness!
